|
|
1 year ago | |
|---|---|---|
| RK-Setup-Cocoa | 1 year ago | |
| RK-Setup-Cocoa.xcodeproj | 1 year ago | |
| RK-Setup-Cocoa.xcworkspace | 1 year ago | |
| EQ5cez8kvL-Simulator_Screenshot_-_iPhone_15_Pro_-_2024-10-09_at_22.05.48.png | 1 year ago | |
| I_hqQzh0M-CleanShot_2024-10-09_at_14.15.26.jpg | 1 year ago | |
| IiOTw8-4Z-CleanShot_2024-10-09_at_14.18.21.jpg | 1 year ago | |
| JcAGbee2d-Simulator_Screenshot_-_iPhone_15_Pro_-_2024-10-09_at_22.05.32.png | 1 year ago | |
| PgVXouKZx-CleanShot_2024-10-09_at_14.17.50.jpg | 1 year ago | |
| Podfile | 1 year ago | |
| Podfile.lock | 1 year ago | |
| Readme.md | 1 year ago | |
| ZltrCxNZTu-Simulator_Screenshot_-_iPhone_15_Pro_-_2024-10-09_at_22.06.09.png | 1 year ago | |
| acJfu3Mzz-CleanShot_2024-10-09_at_22.01.52@2x.jpg | 1 year ago | |
| lt_VdI62G-CleanShot_2024-10-09_at_22.24.18@2x.jpg | 1 year ago | |
| s-BbnkzCn-CleanShot_2024-10-09_at_14.17.35.jpg | 1 year ago | |
Readme.md
basic-setup-cocoapods
Readme
There’s another solution to integrate ResearchKit to your Xcode project, by using an iOS dependency manager called CocoaPods1. The nice thing is that not only will it download and update the source code, but it will also configure the project for you.
First, you need to install CocoaPods. It only takes one command for the Terminal when you use Homebrew — The Missing Package Manager for macOS or Linux:
$ brew install cocoapods
Then, the following steps will configure and isntall RK for your project. The repository can be used as a base to start new project with ResearchKit previously added.
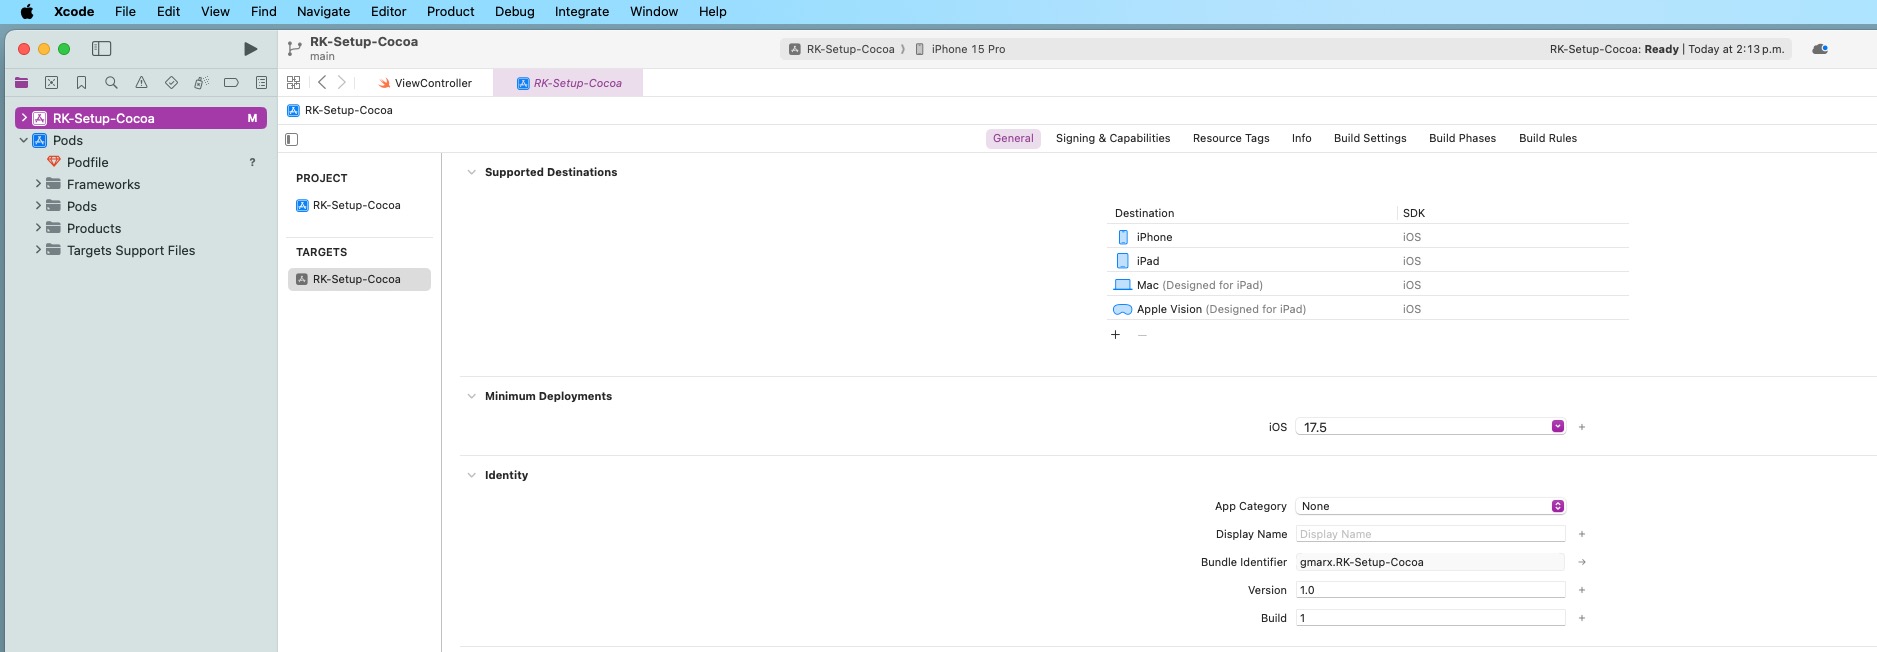
Step 1: Create a New Xcode Project
- Open Xcode.
- Create a new project using “App” under iOS.
- Select the app template you want (e.g., “App”).
- Name your project, select a language (Swift), set the interface (Storyboard), and set the necessary configurations.
- Save it to a preferred location on your disk.
Step 2: Initialize CocoaPods in Your Project
Open Terminal and navigate to your project’s directory:
cd /path/to/your/project
Initialize CocoaPods for the project:
pod init
Step 3: Add ResearchKit to the Podfile
- Open the generated Podfile using a text editor (Vim) or Xcode.
- Add the following line to include ResearchKit v3:
# Uncomment the next line to define a global platform for your project
# platform :ios, '9.0'

target 'RK-Setup-Cocoa' do
  # Comment the next line if you don't want to use dynamic frameworks
  # use_frameworks!

  # Pods for RK-Setup-Cocoa
  pod 'ResearchKit', '~> 2.2.16'

end
- Save and close the Podfile. Note: the newest RK version (3.0.1) is not enable at cocoapods.
Step 4: Install the Pod
- Back in the terminal, run:
pod install
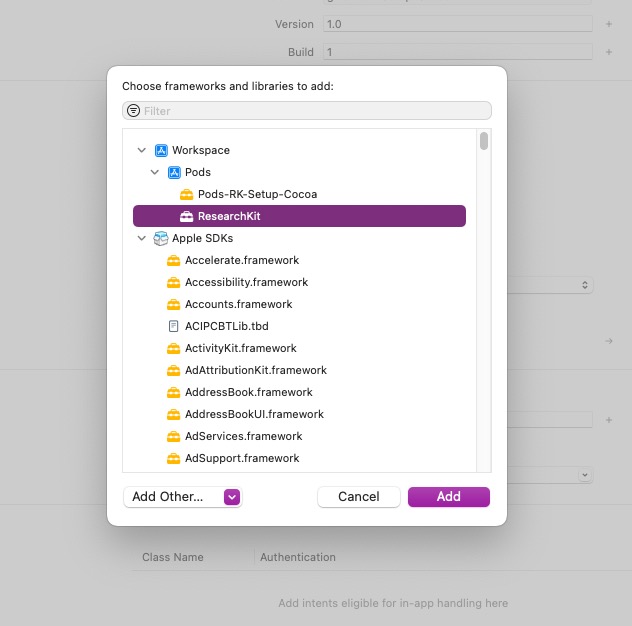
- CocoaPods will download and set up ResearchKit and any dependencies it requires.
- Once the installation is complete, you will see a .xcworkspace file in your project folder.
Step 5: Open the Project Using the Workspace
- From now on, always open your project using the .xcworkspace file:
open YourProjectName.xcworkspace
Step 6: Import and Use ResearchKit in Your Project
-
Open your main
ViewControlleror any other file where you want to use ResearchKit. -
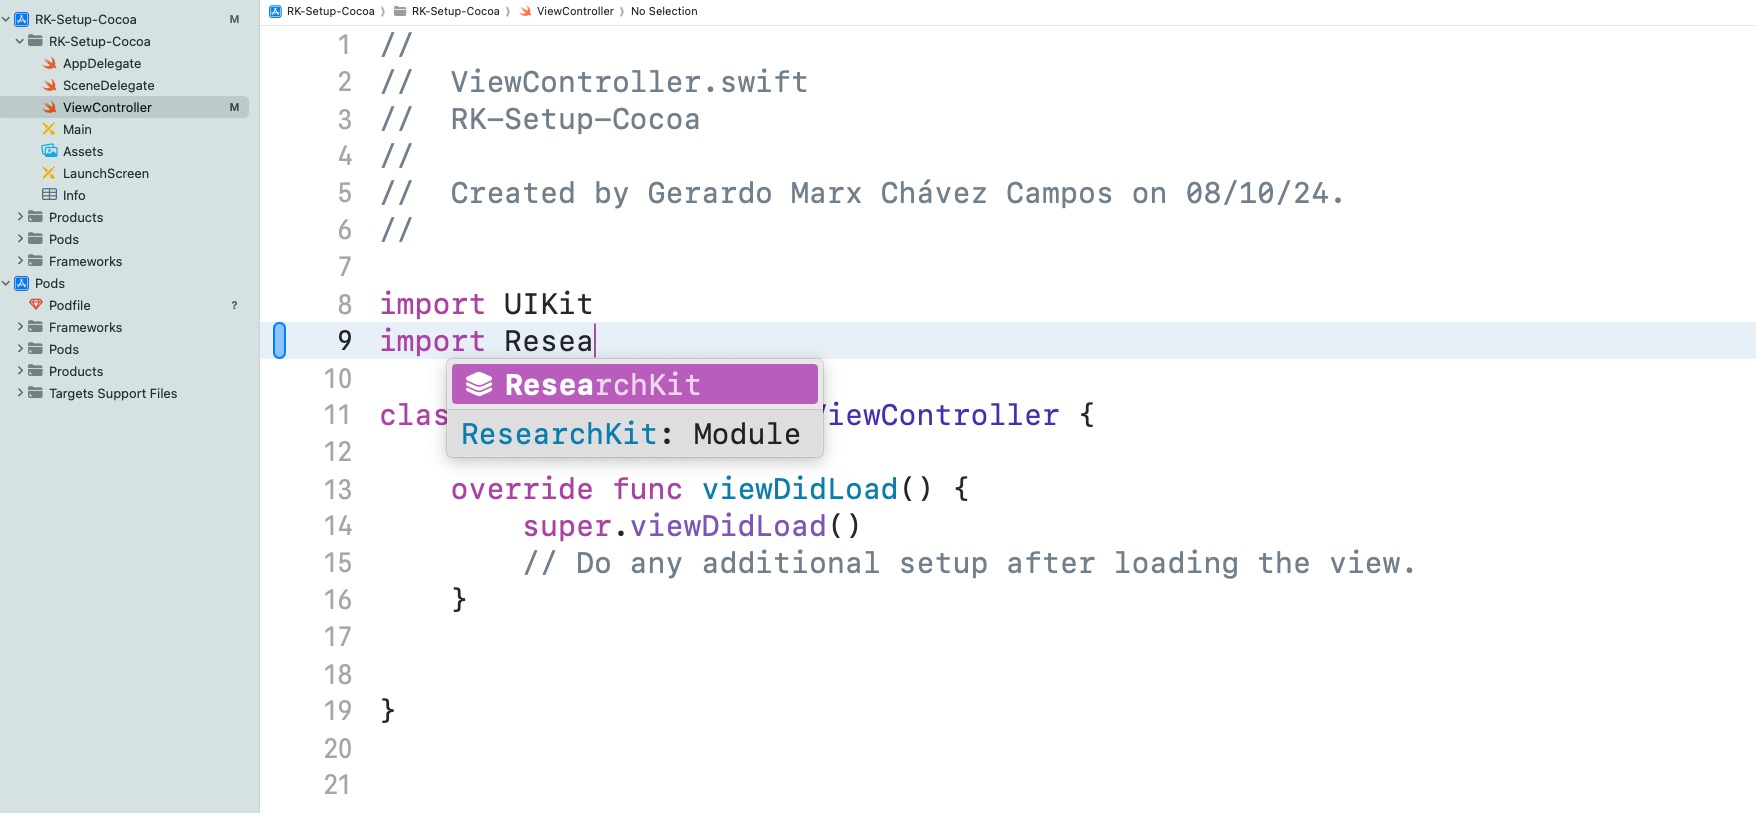
Import ResearchKit at the top of the file:
import ResearchKit
- Now you can start using ResearchKit to build surveys, consent forms, tasks, and more.
Example: Basic Survey Task
Project Structure
We’ll create a new file called SurveyTask.swift that contains the survey logic. The ViewController will be responsible for presenting the survey task but will keep the survey creation logic separate.
Step 1: Create SurveyTask.swift
1.	In Xcode, create a new Swift file named `SurveyTask.swift`.
2.	Add the following code to SurveyTask.swift:
import ResearchKit

// Define a simple survey task
func createSurveyTask() -> ORKOrderedTask {
    // Define a question step with a text answer format
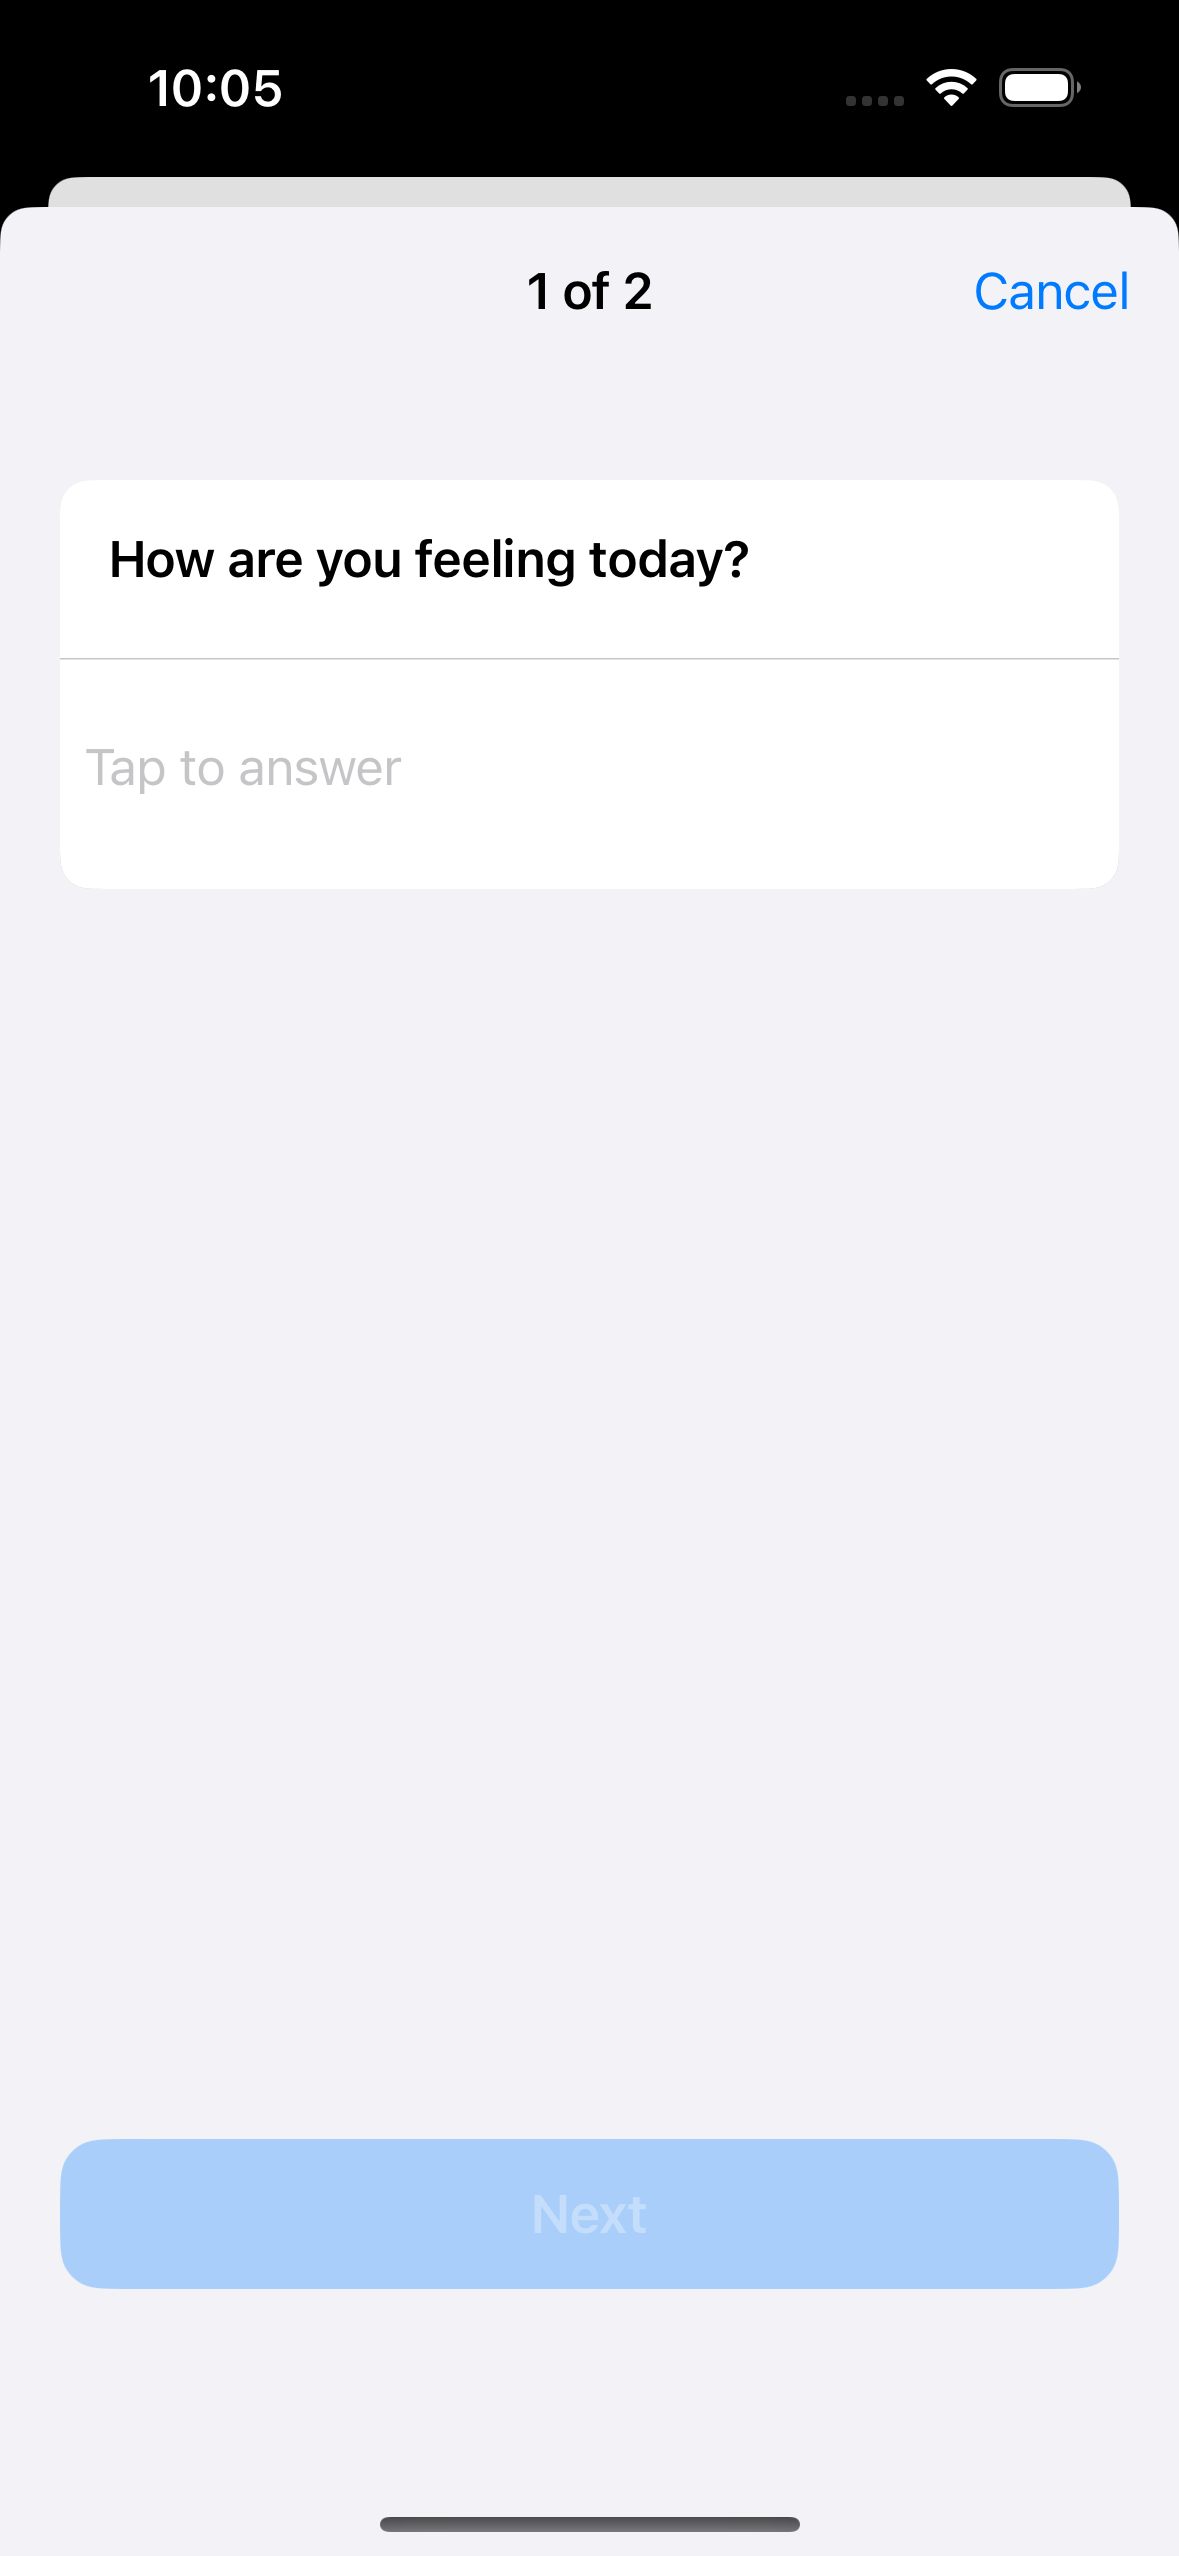
    let questionStepTitle = "How are you feeling today?"
    let questionStep = ORKQuestionStep(
        identifier: "QuestionStep",
        title: questionStepTitle,
        answer: ORKTextAnswerFormat(maximumLength: 100)
    )
    questionStep.isOptional = false

    // Define another question as a scale (e.g., 1 to 10)
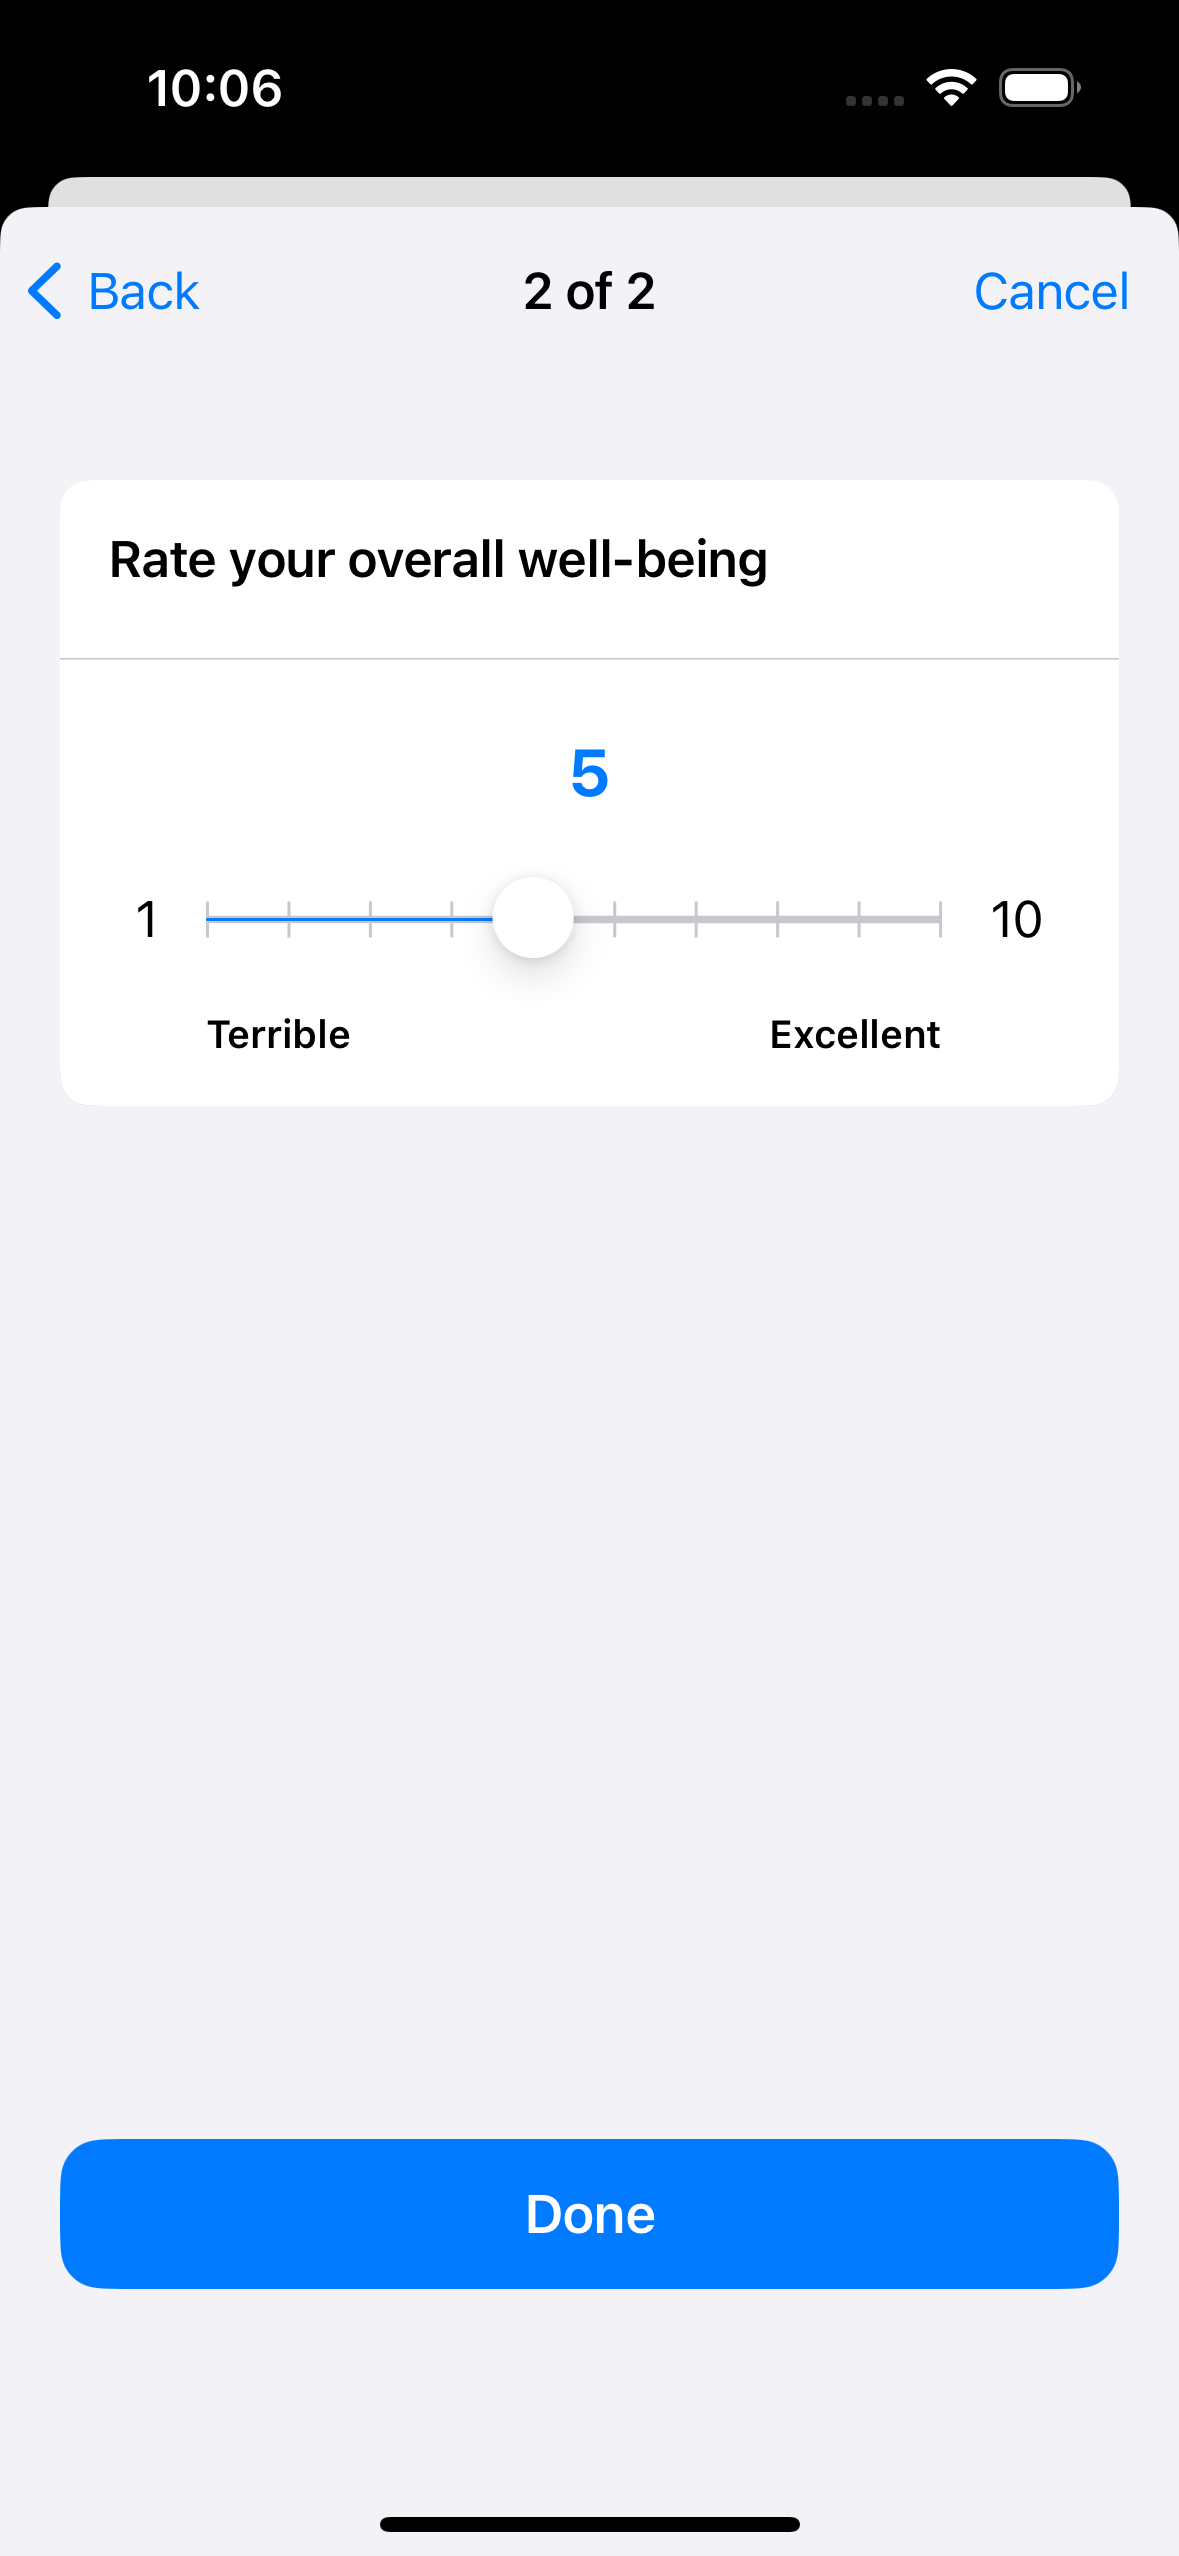
    let scaleAnswerFormat = ORKAnswerFormat.scale(
        withMaximumValue: 10,
        minimumValue: 1,
        defaultValue: 5,
        step: 1,
        vertical: false,
        maximumValueDescription: "Excellent",
        minimumValueDescription: "Terrible"
    )
    let scaleStep = ORKQuestionStep(
        identifier: "ScaleStep",
        title: "Rate your overall well-being",
        answer: scaleAnswerFormat
    )
    scaleStep.isOptional = false

    // Create the ordered task with the steps
    return ORKOrderedTask(identifier: "SurveyTask", steps: [questionStep, scaleStep])
}
This file defines a function createSurveyTask() that returns a simple survey with two questions: one text-based and one scale-based.
Step 2: Update ViewController.swift
- In
ViewController.swift, add the following code:
import UIKit
import ResearchKit

class ViewController: UIViewController {

    @IBAction func startSurveyTapped(_ sender: UIButton) {
        // Create a task view controller for the survey
        let surveyTask = createSurveyTask()
        let taskViewController = ORKTaskViewController(task: surveyTask, taskRun: nil)
        taskViewController.delegate = self
        present(taskViewController, animated: true, completion: nil)
    }
}

// Conform to the ORKTaskViewControllerDelegate protocol
extension ViewController: ORKTaskViewControllerDelegate {
    func taskViewController(
        _ taskViewController: ORKTaskViewController,
        didFinishWith reason: ORKTaskViewControllerFinishReason,
        error: Error?
    ) {
        // Handle the results of the survey here
        if reason == .completed {
            if let results = taskViewController.result.results {
                for stepResult in results {
                    print("Step: \(stepResult.identifier), Results: \(stepResult)")
                }
            }
        }
        // Dismiss the task view controller
        dismiss(animated: true, completion: nil)
    }
}
In this code:
- The
startSurveyTappedfunction is called when a button is tapped. - It creates a survey using the
createSurveyTask()function fromSurveyTask.swiftand presents theORKTaskViewController. - The
ViewControllerconforms to theORKTaskViewControllerDelegateto handle the completion of the survey.
Step 3: Hook Up the Button in the Storyboard
-
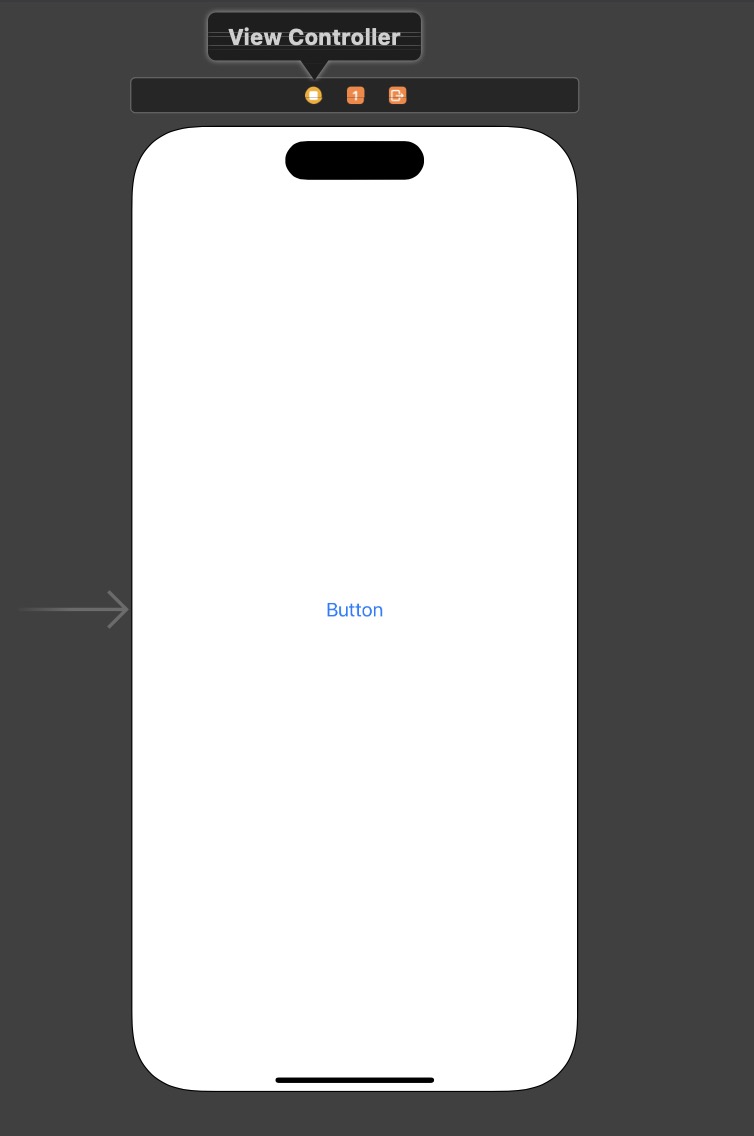
Open the main storyboard in Xcode.
-
Add a button to your ViewController scene:
-
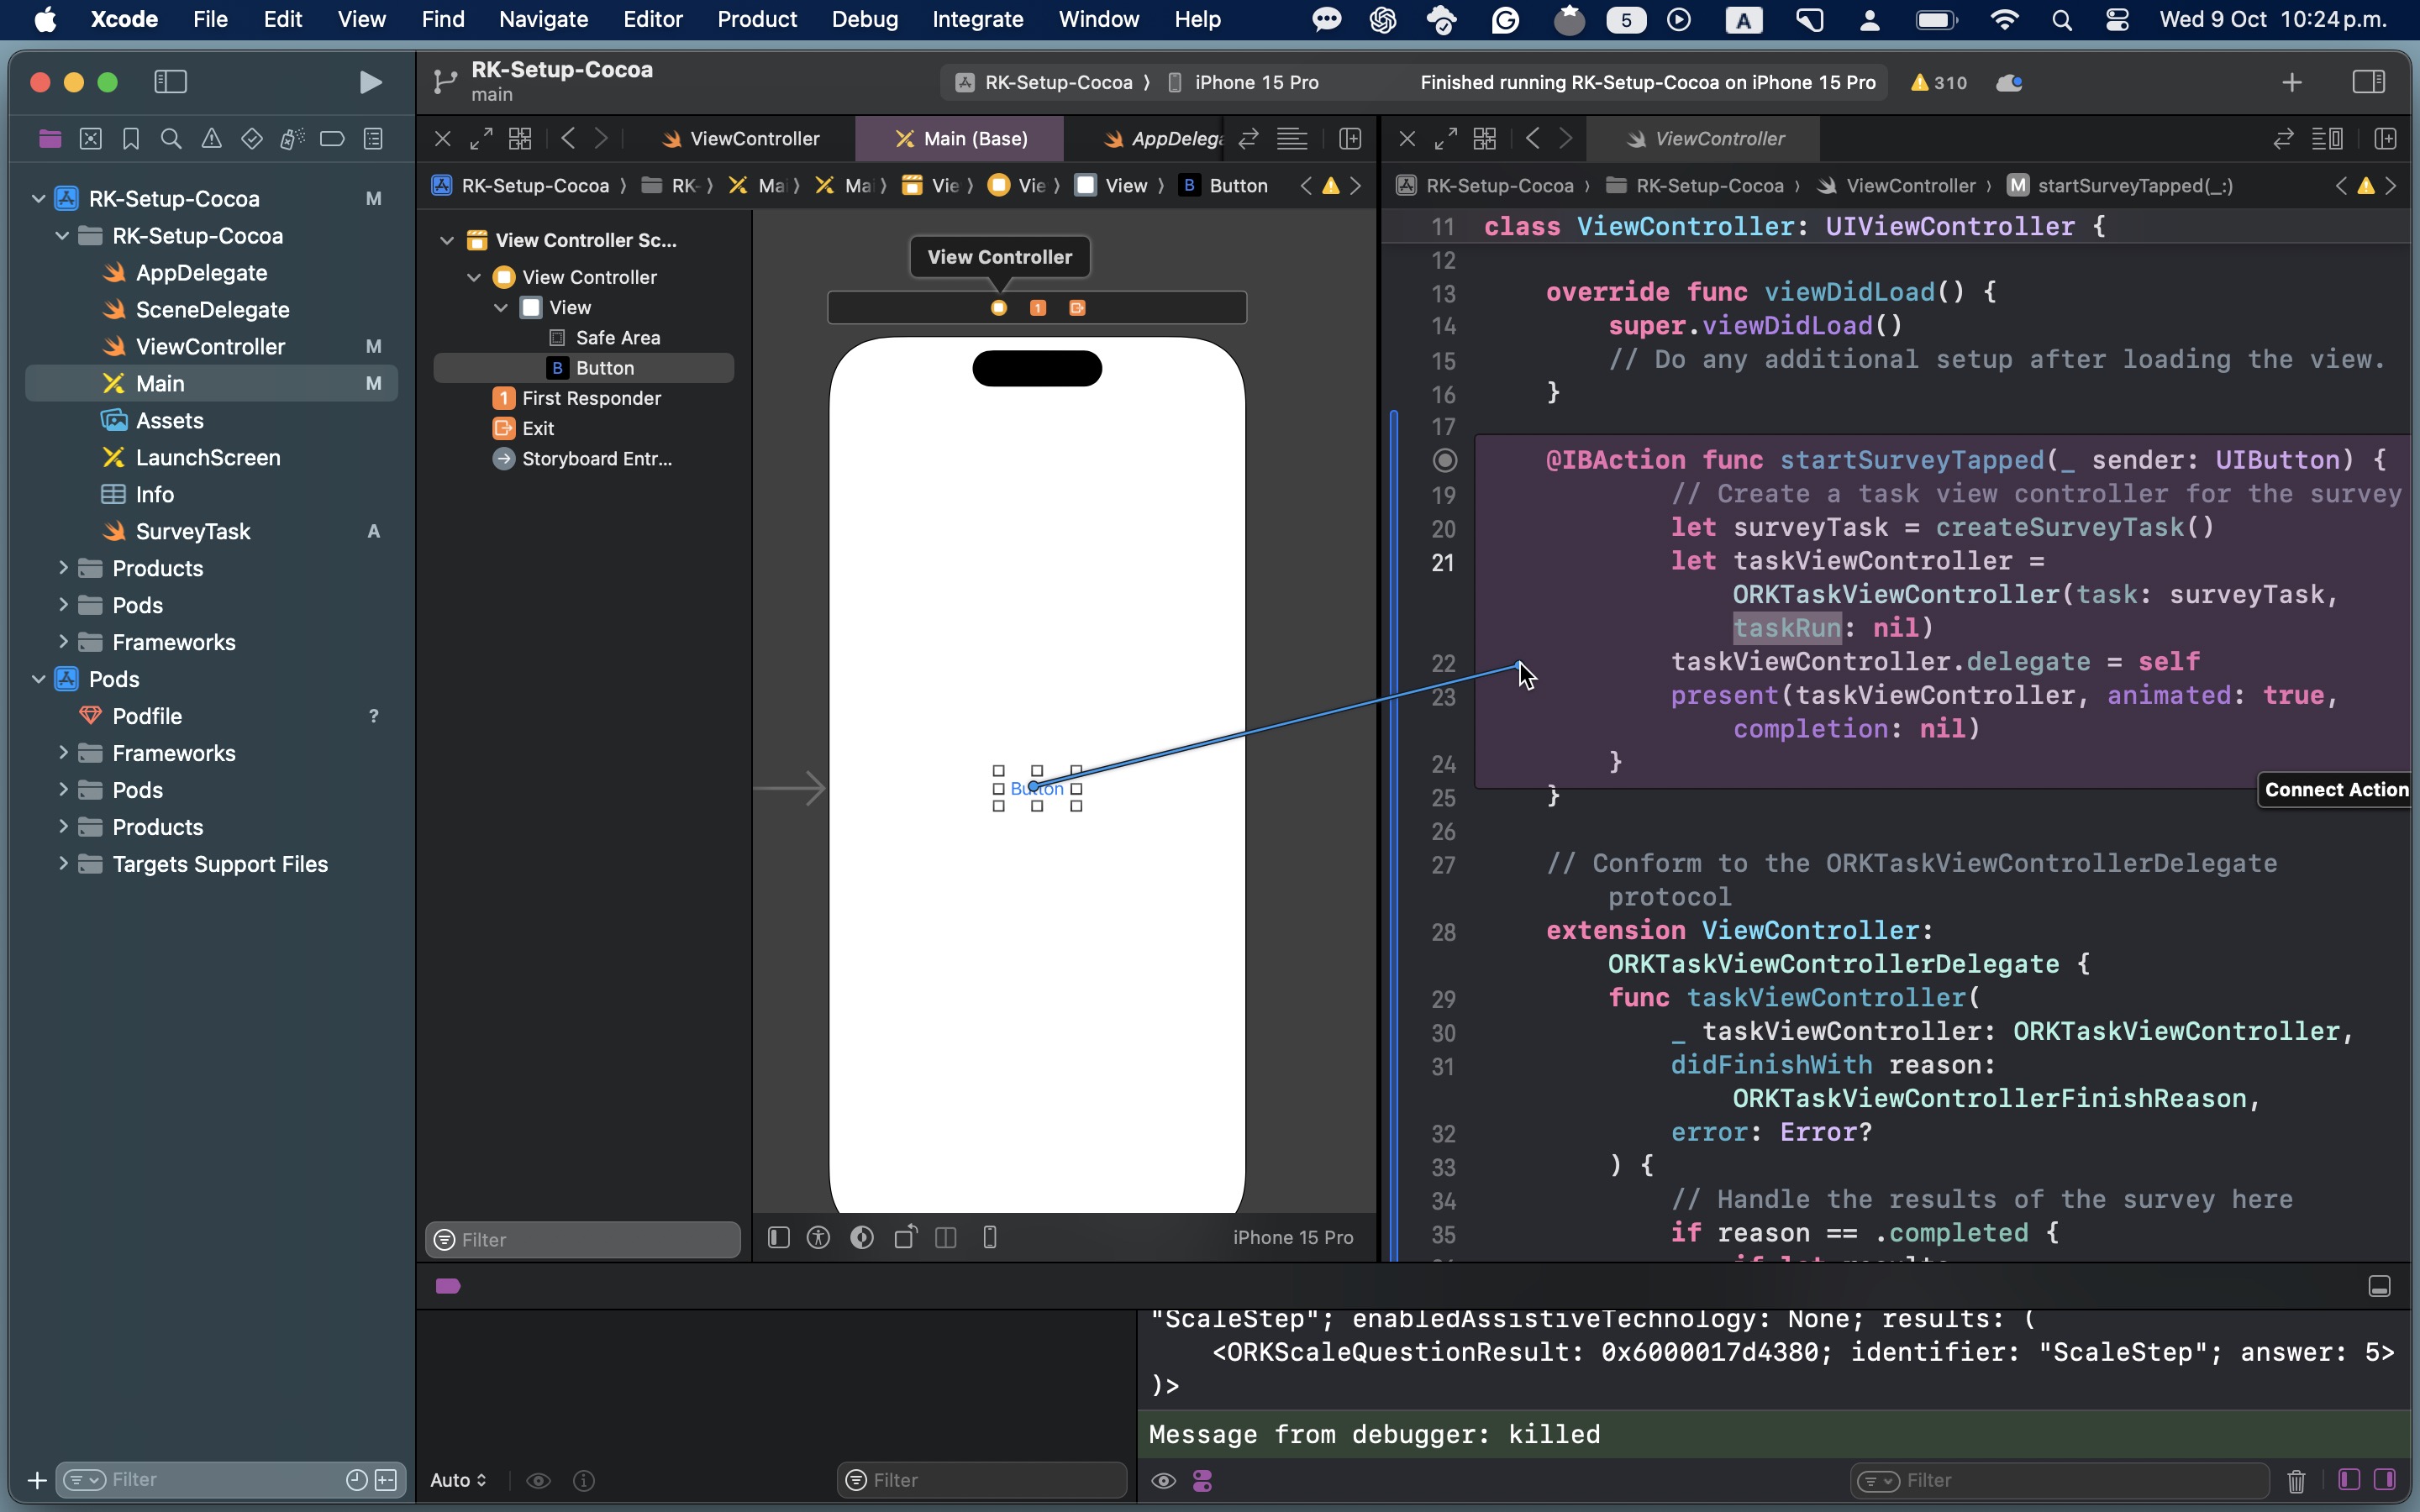
Control-drag from the button to the ViewController code and create an @IBAction named startSurveyTapped.
-
Build and run the app on a simulator or a real device.
Useful commands of cocoapods
brew upgrade cocoapods
pod repo update
pod search ResearchKit
-> ResearchKit (2.2.16)
   ResearchKit is an open source software framework that makes it easy to create apps for medical research or for other research projects.
   pod 'ResearchKit', '~> 2.2.16'
   - Homepage: https://www.github.com/ResearchKit/ResearchKit
   - Source:   https://github.com/ResearchKit/ResearchKit.git
   - Versions: 2.2.16, 2.2.15, 2.1.0, 2.0.0, 1.5.2, 1.5.0, 1.4.1, 1.3.1, 1.3.0, 1.2.1, 1.2, 1.1.2, 1.0.0 [trunk repo]

-> FYAMResearchKit (3.0.0)
   ResearchKit is an open source software framework that makes it easy to create apps for medical research or for other research projects.
   pod 'FYAMResearchKit', '~> 3.0.0'
   - Homepage: https://github.com/balzo-tech/ResearchKit
   - Source:   https://github.com/balzo-tech/ResearchKit
   - Versions: 3.0.0, 2.3.0, 2.2.0, 2.1.3 [trunk repo]

-> KinveyResearchKit (0.0.3)
   ResearchKit wrapper for Kinvey
   pod 'KinveyResearchKit', '~> 0.0.3'
   - Homepage: https://github.com/Kinvey/kinvey-researchkit
   - Source:   https://github.com/Kinvey/kinvey-researchkit.git
   - Versions: 0.0.3, 0.0.2, 0.0.1 [trunk repo]

-> CGSearchKit (0.0.1)
   A short description of CGSearchKit.
   pod 'CGSearchKit', '~> 0.0.1'
   - Homepage: https://gitee.com/chen_guo/CGSearchKit.git
   - Source:   https://gitee.com/chen_guo/CGSearchKit.git
   - Versions: 0.0.1 [trunk repo]
