12 KiB
Enhancing Biomedical Research with ResearchKit: Digitization of IPAQ and MMSE for Sedentary Behavior and Cognitive Impairment Analysis
Juan David López-Regalado and Gerardo Marx Chávez-Campos
Medical questionnaires and forms play a crucial role in diagnosing diseases and gathering essential patient information. Traditionally, these assessments are conducted through face-to-face interactions or phone calls, which can be time-consuming, costly, and inefficient. To address these challenges, digital adaptations of medical questionnaires have been developed, enabling faster and more accessible data collection across various platforms and applications.
ResearchKit, an open-source framework introduced by Apple, allows researchers and developers to create robust mobile applications for medical research. By leveraging this technology, large-scale data collection can be conducted efficiently, facilitating real-time analysis while reaching a broader population.
Create project and implementation of ResearchKit
For create a medical applications for digitized questionnaires, it's necessary to download the framework from the next repository
and create a new ios project in Xcode in the option App.
The next window will ask you name, interface, lenguage among other, but it is left as default, we only put a name and identifier, and saved in the desired path.
When the project is create the main window looks like the next image
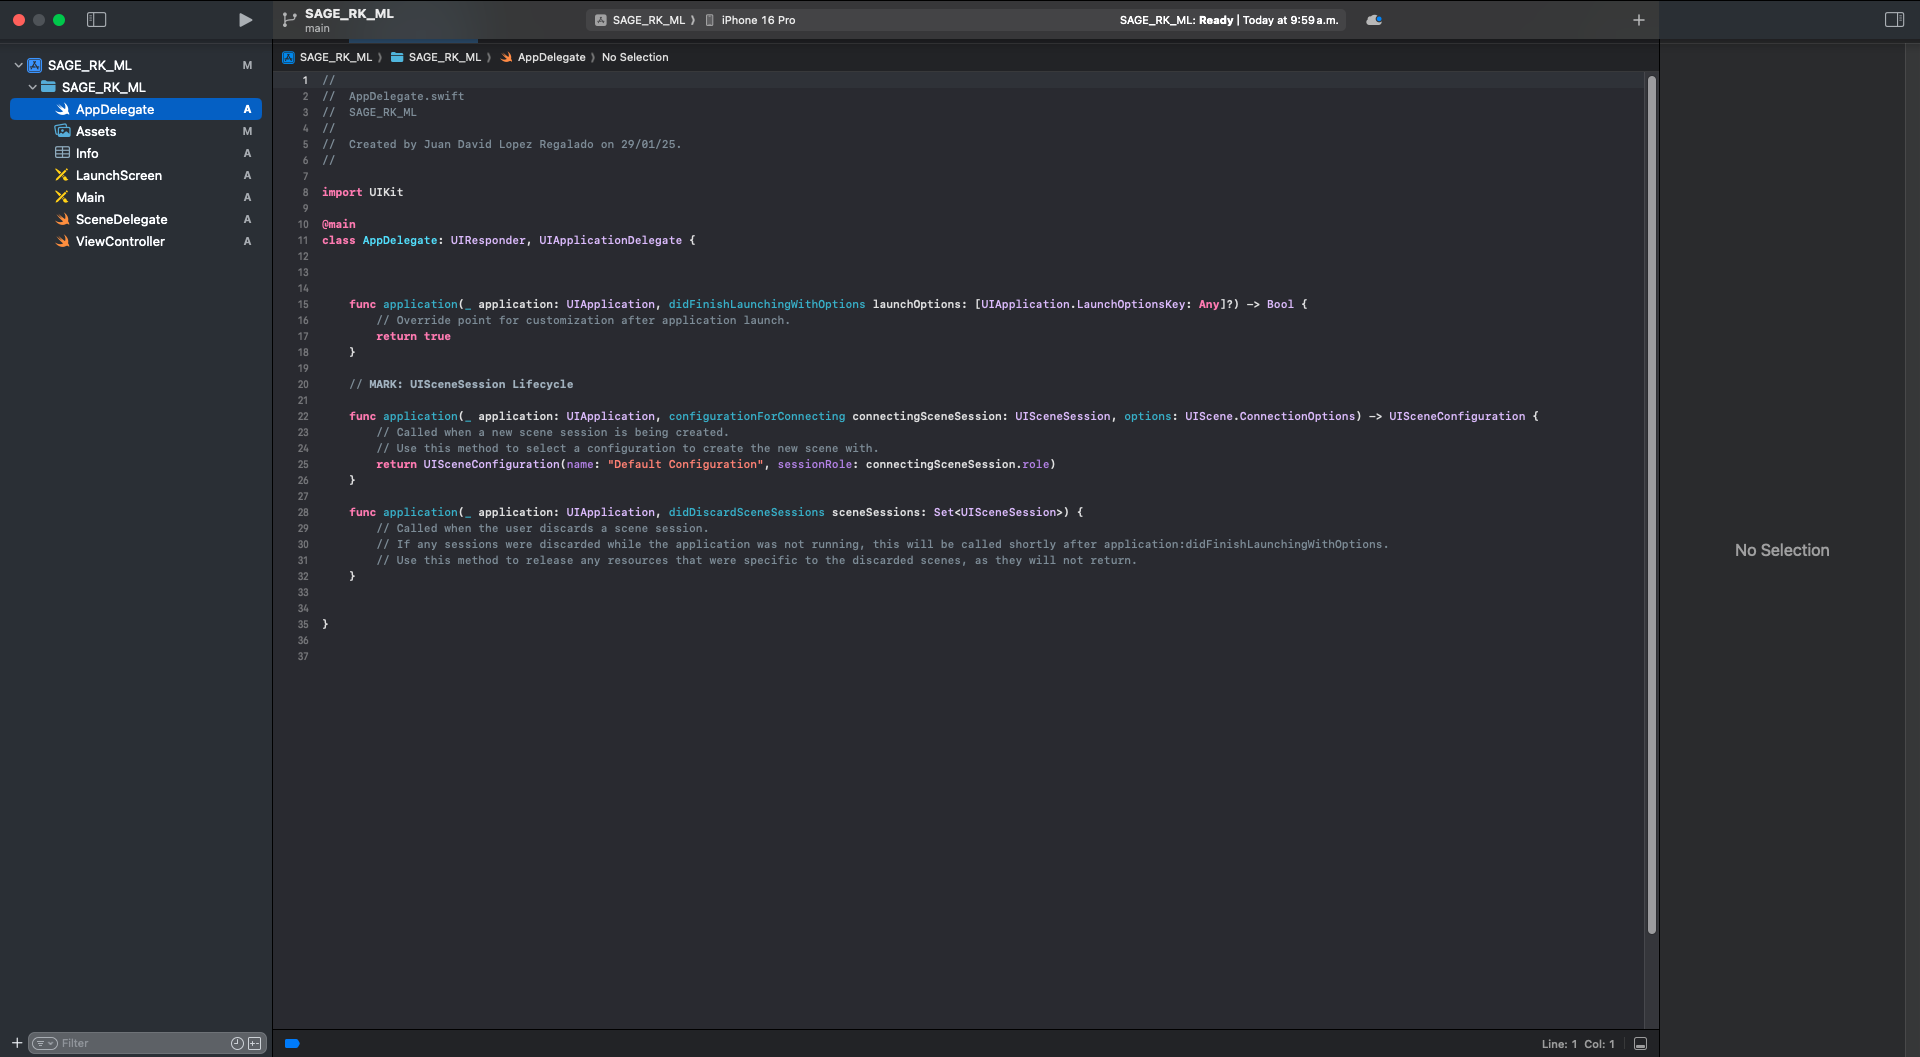
This is a main window, all the files from the application are found here, this is the environment where you work.
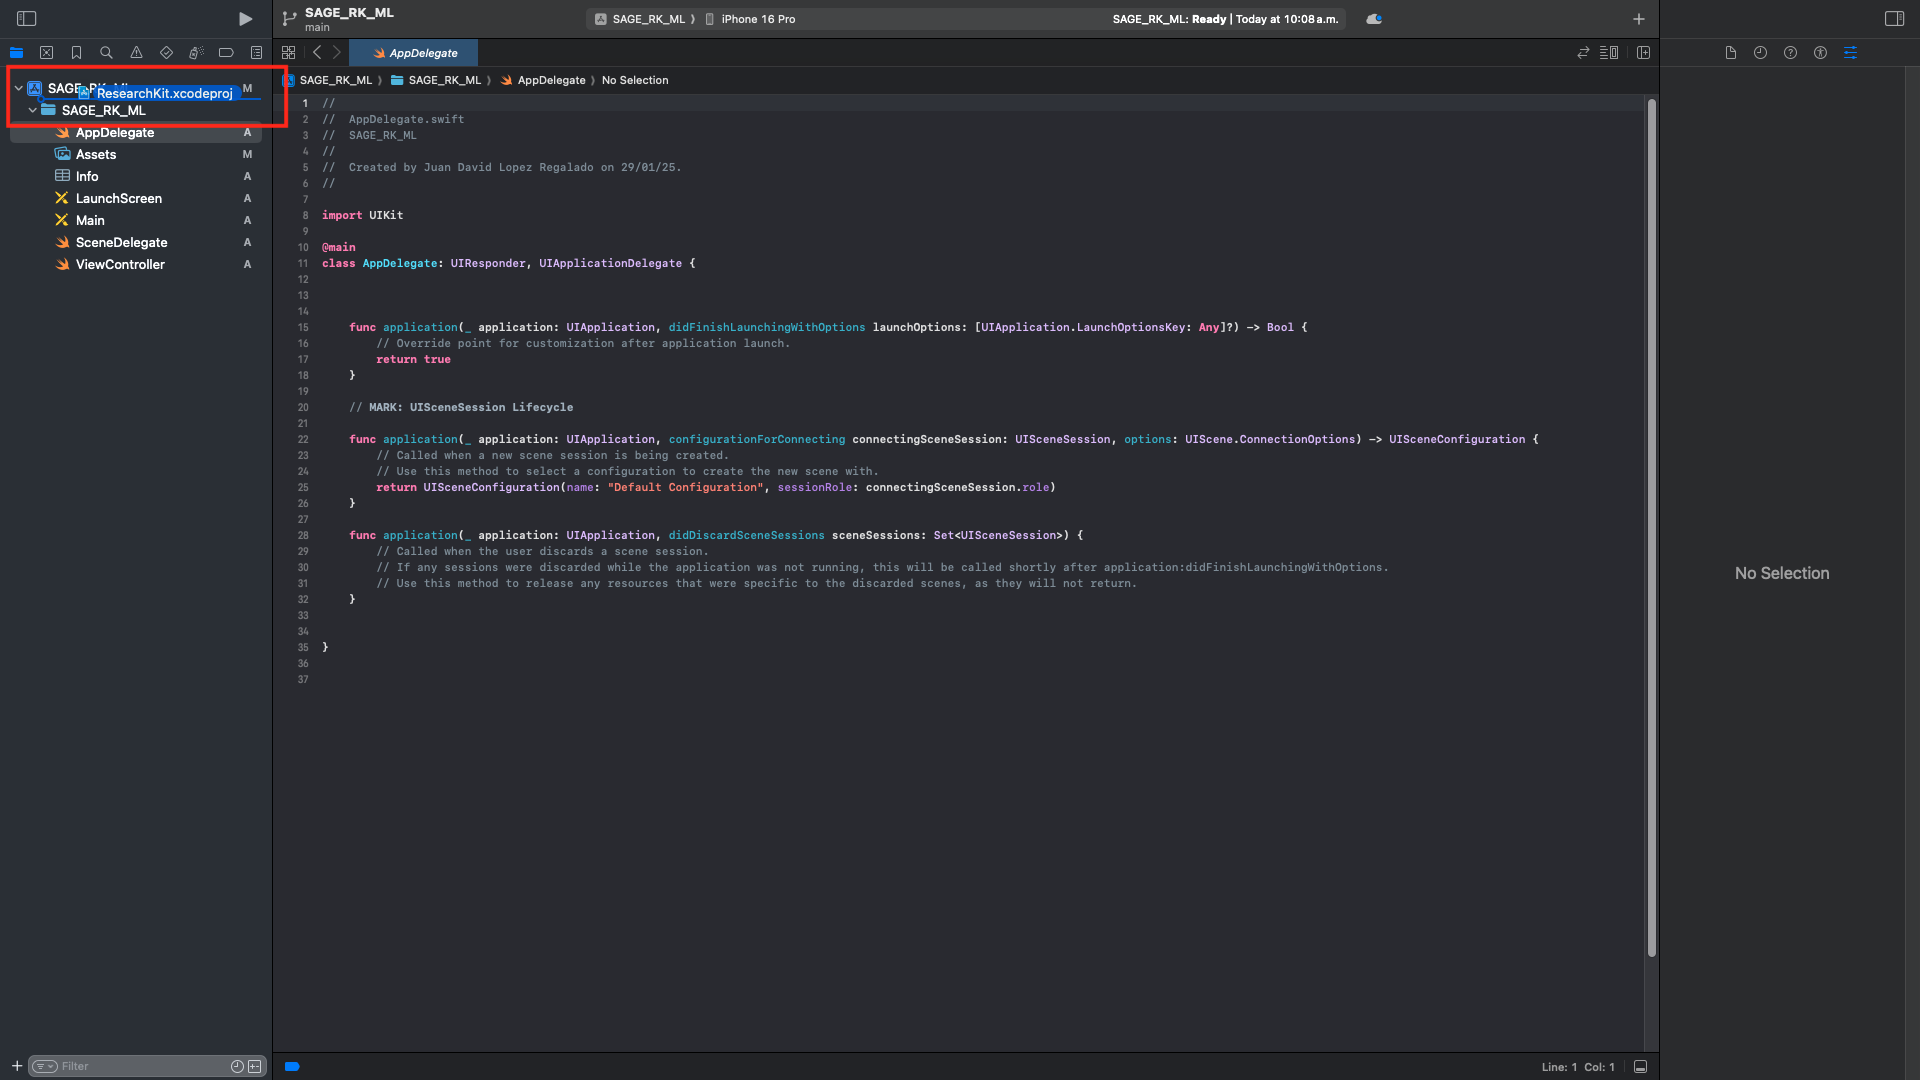
The previous folder download from github contain a xcode file, it name is ResearchKit.xcodeproj this file will be dragged to the top of the Xcode file explorer, as shown in the image below.
When the famework is here, is part of the application, only needs to activate. In the root of the application exist a general configuration, here in Framework, Libraries and Embededden Content in the plus sign is necessary activate the 3 parts of framework, in the next GIF, show how do that.
Doing that, ResearchKit is ready to use.
Visual Interface
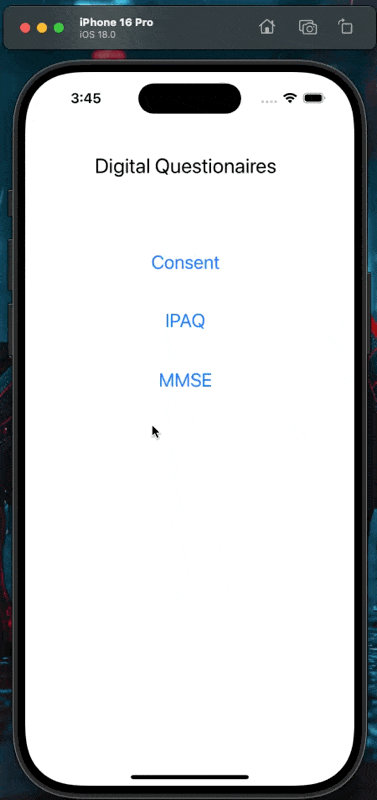
The first part for develop a application is the visual part, you need to create a visual interface because the participants need a intuitive screen. This repository is not about the interface part, only about the ResearchKit part, therefore, we will skip the visual part, we can only say that it is necessary to place 3 buttons, one for consent, another for IPAQ and another for MMSE.
The visual interface needs to be easy, intuitive, but the design is part of you.
The main screen should be like the next image:
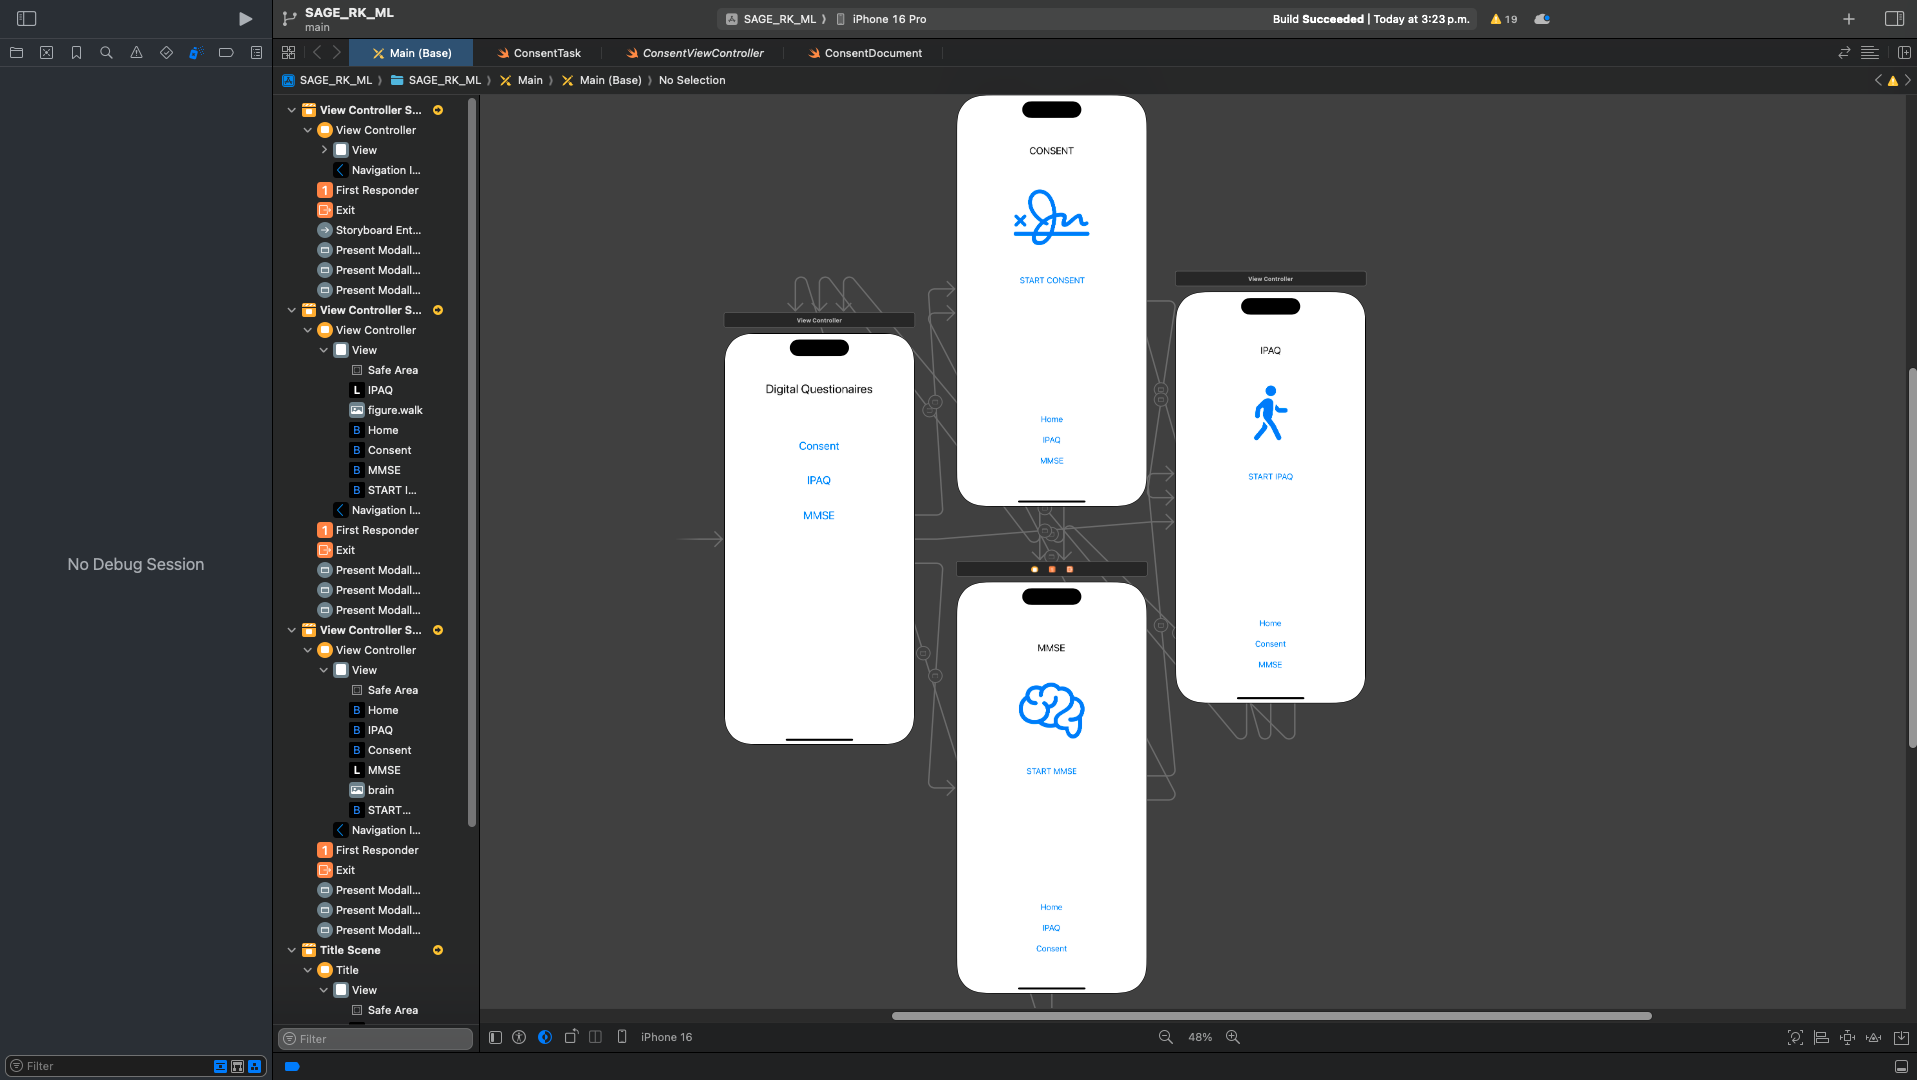
Now, it is necessary create 3 files for Consent(ConsentViewController, ConsentTask and ConsentDocument), 2 for IPAQ (IPAQViewConstroller and IPAQManager) and 2 for MMSE (MMSEViewController and MMSEManager). Files with termination ViewController are type CocoaTouchClass with subclass UIViewController and other termination only Swift File. In the next GIF show how to create this two files.
With all the files created, should look like the next image:

The files are in charge of managing all the forms that are generated with ResearchKit, the Managers are in charge of saying what and what parts are added to the form, that is, the questions, and the ViewController is in charge of triggering it and displaying it on the cell phone.
In case of Consent it's similar, but it's divide de Manager in two files, the sections and the content.
Develop Consent, IPAQ and MMSE
For develop a consent it's necessary knows the content that you need for your participants, but most of them require the same sections.
In ConsentDocument it is required put the sections that content the consent, and you need to add a code like this:
import Foundation
import ResearchKit

public var ConsentDocument: ORKConsentDocument {

    let consentDocument = ORKConsentDocument()
    consentDocument.title = "Conset for questionaires IPAQ and MMSE" // Title

    // Type of sections
    let sectionTypes: [ORKConsentSectionType] = [
        .overview,
        .dataGathering,
        .privacy,
        .dataUse,
        .timeCommitment,
        .studySurvey,
        .studyTasks,
        .withdrawing
    ]

    let text = [
        "Section 1: Welcome. This study is about...",
        "Section 2: Data Gathering. This study will collect data from your Apple Watch...",
        "Section 3: Privacy. We value your privacy...",
        "Section 4: Data Use. The data collected will be used for...",
        "Section 5: Time Commitment. This study will take you roughly...",
        "Section 6: Study Survey. For this study, you will need to fill out a survey...",
        "Section 7: Study Tasks. You will be requested to do these tasks...",
        "Section 8: Withdrawing. To withdraw from the study..."
    ]

    // Create sections and add them to the consent document
    var sections: [ORKConsentSection] = []

    for (index, sectionType) in sectionTypes.enumerated() {
        let section = ORKConsentSection(type: sectionType)
        let localizedText = NSLocalizedString(text[index], comment: "")
        let localizedSummary = localizedText.components(separatedBy: ".")[0] + "."

        section.summary = localizedSummary
        section.content = localizedText
        sections.append(section)
    }

    consentDocument.sections = sections

    // add sign to consent
    let signature = ORKConsentSignature(forPersonWithTitle: "Participante", dateFormatString: nil, identifier: "ConsentDocumentParticipantSignature")
    consentDocument.addSignature(signature)

    return consentDocument
}
This code define sections such as privacy, data collection and use, time commitment, and withdrawal from the study, assigning explanatory texts to each. Additionally, add a field for the participant to sign, ensuring that the consent is complete and ready to be used in the app.
And now the sequence of how it will be shown is putted in the file ConsentTask like the next code:
import UIKit
import ResearchKit

public var ConsentTask: ORKOrderedTask {

    var steps = [ORKStep]()

    // Visualization of sections
    let consentDocument = ConsentDocument

    // Section 1: Welcome
    let section1 = ORKInstructionStep(identifier: "consentSection1InstructionStep")
    section1.title = "Welcome"
    section1.iconImage = UIImage(systemName: "hand.wave")
    section1.detailText = "Section 1: Welcome. This study is about..."
    steps += [section1]

    // Section 2: Data Collection
    let section2 = ORKInstructionStep(identifier: "consentSection2InstructionStep")
    section2.title = "Data Collection"
    section2.iconImage = UIImage(systemName: "doc.text")
    section2.detailText = "Section 2: Data Collection. This study will collect data..."
    steps += [section2]

    // Section 3: Privacy
    let section3 = ORKInstructionStep(identifier: "consentSection3InstructionStep")
    section3.title = "Privacy"
    section3.iconImage = UIImage(systemName: "lock.shield")
    section3.detailText = "Section 3: Privacy. We value your privacy..."
    steps += [section3]

    // Section 4: Data Use
    let section4 = ORKInstructionStep(identifier: "consentSection4InstructionStep")
    section4.title = "Data Use"
    section4.iconImage = UIImage(systemName: "chart.bar")
    section4.detailText = "Section 4: Data Use. The collected data will be used for..."
    steps += [section4]

    // Section 5: Time Commitment
    let section5 = ORKInstructionStep(identifier: "consentSection5InstructionStep")
    section5.title = "Time Commitment"
    section5.iconImage = UIImage(systemName: "clock")
    section5.detailText = "Section 5: Time Commitment. This study will take approximately..."
    steps += [section5]

    // Section 6: Study Survey
    let section6 = ORKInstructionStep(identifier: "consentSection6InstructionStep")
    section6.title = "Study Survey"
    section6.iconImage = UIImage(systemName: "list.bullet.rectangle")
    section6.detailText = "Section 6: Study Survey. For this study, you will need to complete a survey..."
    steps += [section6]

    // Section 7: Study Tasks
    let section7 = ORKInstructionStep(identifier: "consentSection7InstructionStep")
    section7.title = "Study Tasks"
    section7.iconImage = UIImage(systemName: "pencil.and.outline")
    section7.detailText = "Section 7: Study Tasks. You will be required to perform these tasks..."
    steps += [section7]

    // Section 8: Withdrawal
    let section8 = ORKInstructionStep(identifier: "consentSection8InstructionStep")
    section8.title = "Withdrawal"
    section8.iconImage = UIImage(systemName: "arrow.backward.circle")
    section8.detailText = "Section 8: Withdrawal. To withdraw from the study..."
    steps += [section8]

    // Review and Sign
    let signature = consentDocument.signatures!.first!
    let reviewConsentStep = ORKConsentReviewStep(identifier: "ConsentReviewStep", signature: signature, in: consentDocument)
    reviewConsentStep.title = "Review"
    reviewConsentStep.text = "Review the consent form."
    reviewConsentStep.reasonForConsent = "Consent to join the study"
    steps += [reviewConsentStep]

    // Passcode/TouchID Protection
    let passcodeStep = ORKPasscodeStep(identifier: "Passcode")
    passcodeStep.iconImage = UIImage(systemName: "lock.circle")
    passcodeStep.text = "You will now create a passcode to identify yourself in the app and protect the entered information."
    steps += [passcodeStep]

    // Completion
    let completionStep = ORKCompletionStep(identifier: "CompletionStep")
    completionStep.iconImage = UIImage(systemName: "checkmark.seal")
    completionStep.title = "Welcome aboard"
    completionStep.text = "Thank you for joining this study."
    steps += [completionStep]

    return ORKOrderedTask(identifier: "ConsentTask", steps: steps)
}
This code explain each section, the sequence and the contet shown in the application.
Now is necessary program the trigger, it means the button that show the consent.The button of consent is programmed in ConsentViewController, need to open the consent en the interface, for to drag the button to the controller and give it the action function, adding the code where it tells us that when pressing the button, the consent is displayed.
The following GIF shows how the drag would be done and the code will be placed below.
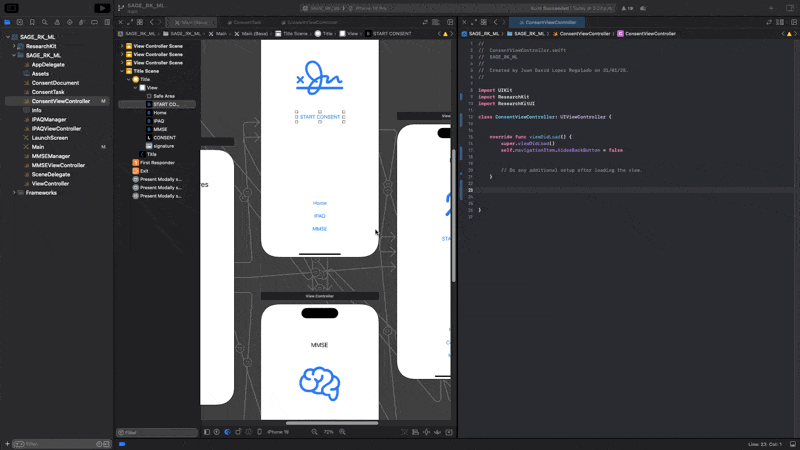
import UIKit
import ResearchKit
import ResearchKitUI

class ConsentViewController: UIViewController, ORKTaskViewControllerDelegate {


    override func viewDidLoad() {
        super.viewDidLoad()
        self.navigationItem.hidesBackButton = false


        // Do any additional setup after loading the view.
    }

    @IBAction func consentButton(_ sender: UIButton) {
        let taskViewController = ORKTaskViewController(task: ConsentTask, taskRun: nil)
        taskViewController.delegate = self
        taskViewController.modalPresentationStyle = .fullScreen
        present(taskViewController, animated: true, completion: nil)
    }

    func taskViewController(_ taskViewController: ORKTaskViewController, didFinishWith reason: ORKTaskFinishReason, error: (any Error)?) {
        if let error = error {
            print("Error en ResearchKit: \(error.localizedDescription)")
        }
        taskViewController.dismiss(animated: true, completion: nil)
    }


}
It's necessary put all the code, because it add a ORKTaskViewCOntroller and a "if" in errors.
If you push the button, the consent will be open.
Its time for IPAQ and MMSE, These questionnaires, as mentioned in the article, will be digitized so that they can be answered on Apple mobile devices. The first thing to do is to know the different questions that the questionnaire contains in order to digitize it in the many functions that ResearchKit has incorporated. In this case, ORKValuePickerAnswerFormat, ORKTextAnswerFormat, ORKTextChoiceAnswerFormat, and ORKScaleAnswerFormat are used.