9.0 KiB
RK-Setup-Git
Introduction
This repository explains how to setup ResearchKit V3 using Git Submodules. The repository has two branches: example and main. The example branch shows a basic sourvey task example using the added ResearchKit framework. Then, the main branch is a project reaady to start working with RK V3.
Example branch
This section explains how to create a project to work with ResearchKit v3 using Git submodules. The main idea is to use this repository as a starting point, however, if you want to create your own Xcode project from zero, follow the next guide
Step 1: Setting up the Xcode project
To set up ResearchKit v3 using Git submodules, you can include the ResearchKit repository as a submodule in your Xcode project instead of using CocoaPods.
- Open Terminal and navigate to your Xcode project’s directory:
cd /path/to/your/project
- Add the ResearchKit repository as a submodule:
git submodule add https\://github.com/ResearchKit/ResearchKit.git
- Initialize and update the submodule:
git submodule update --init --recursive
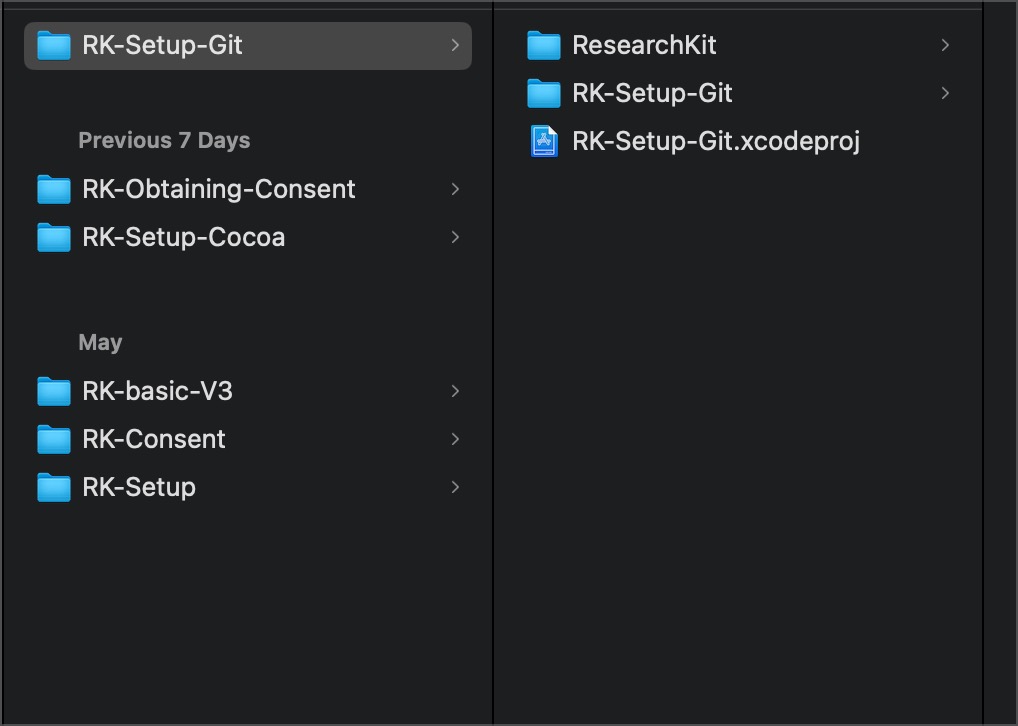
This command will clone the ResearchKit repository into a ResearchKit folder inside your project directory.
Thus, your project folder (in my case RK-Setup-Git should looks like the next image:
Step 2: Add ResearchKit to Your Xcode Project
- Open your Xcode project or workspace.
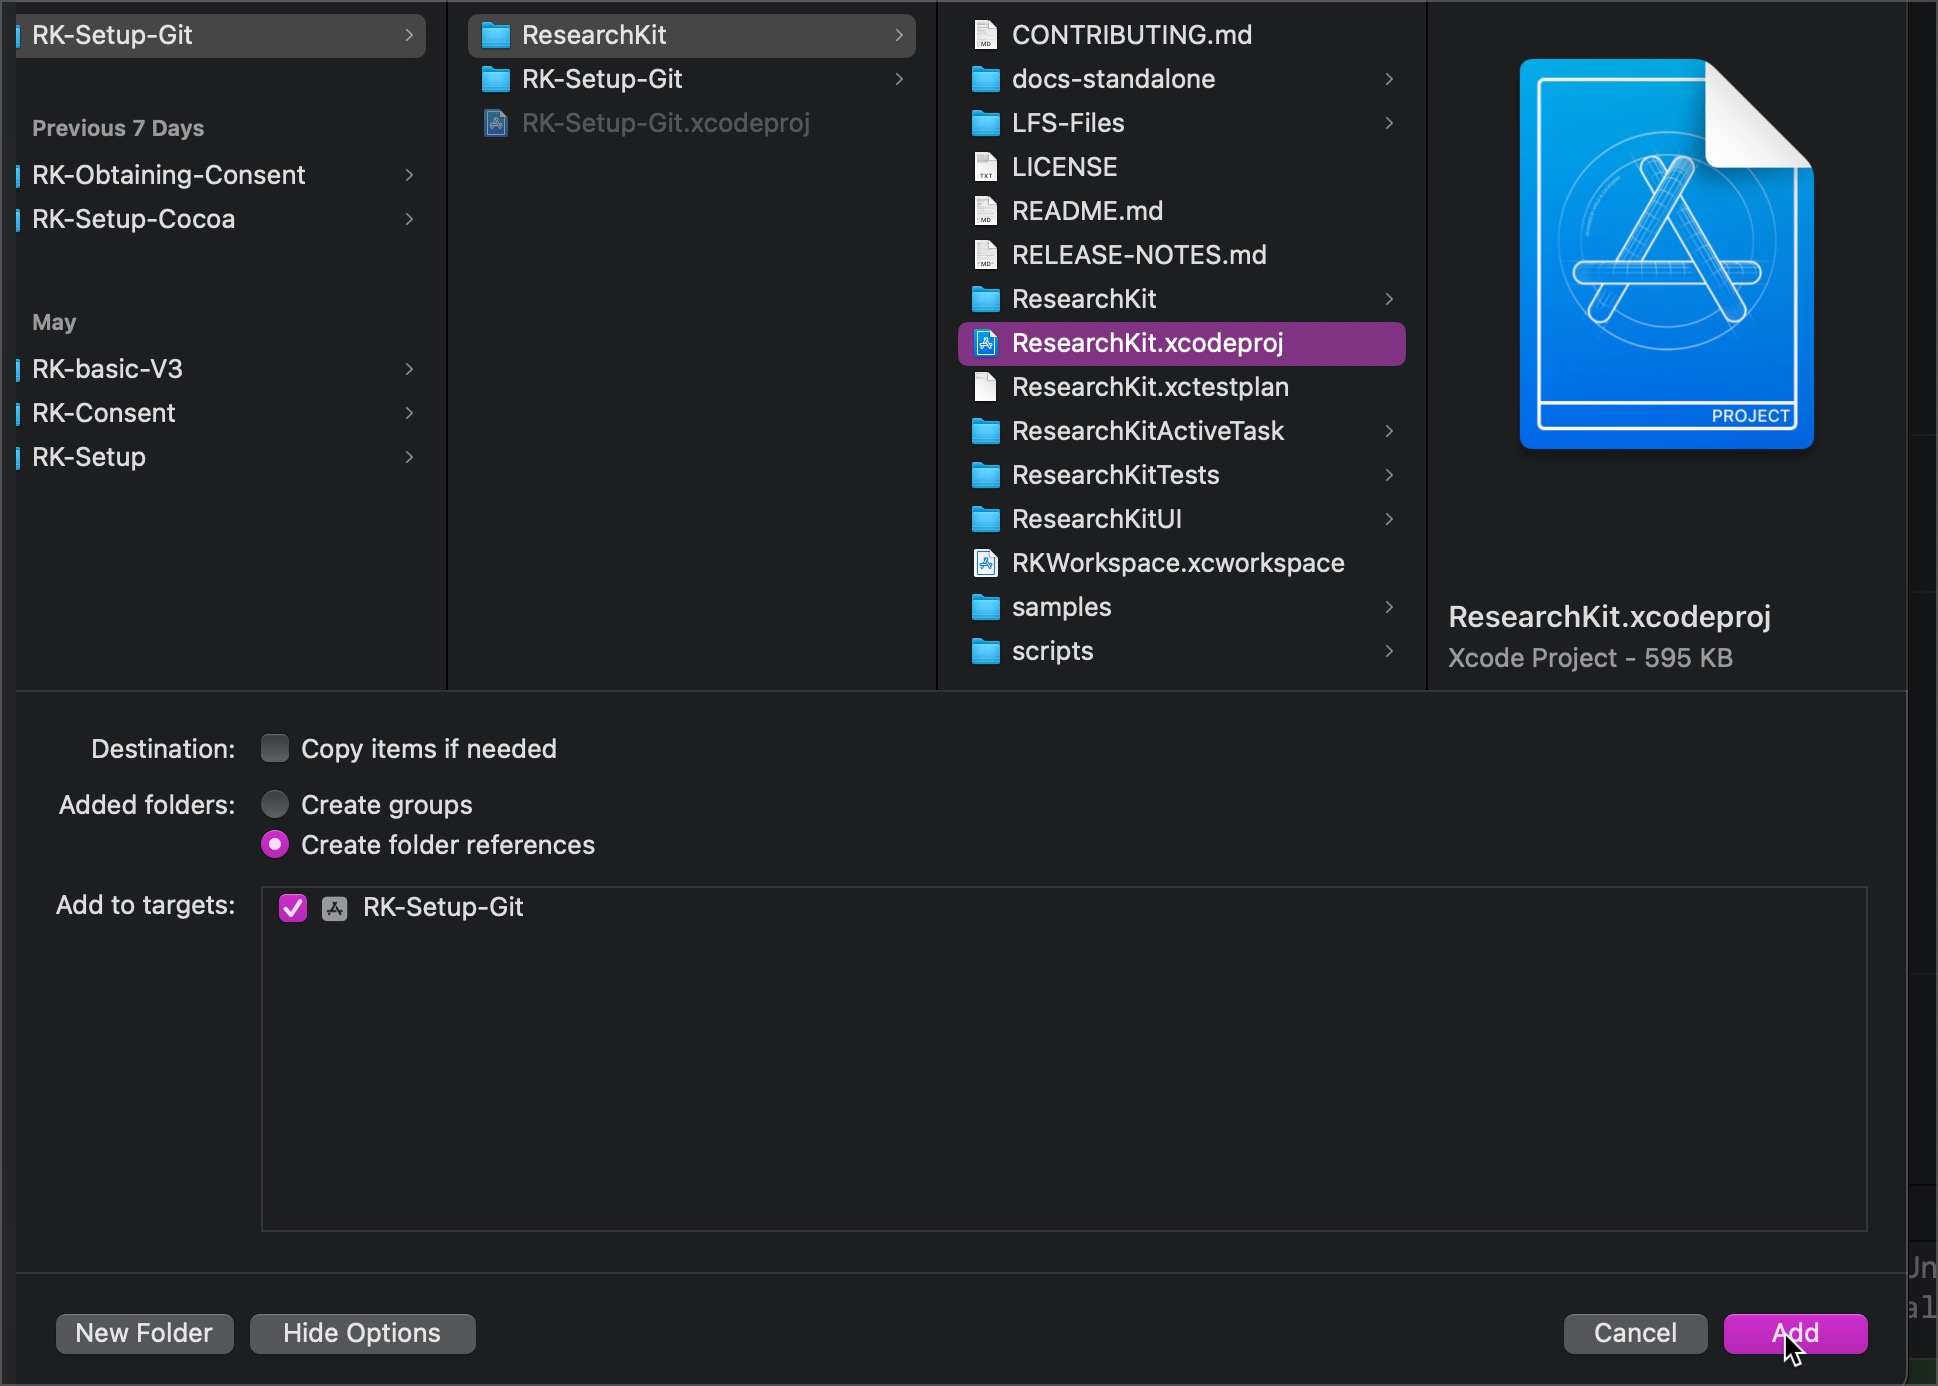
- In the Xcode Project Navigator, right-click on the project’s root and select Add Files to “YourProjectName”.
 3. Browse to the ResearchKit folder you cloned as a submodule and select the ResearchKit.xcodeproj file.
- Add ResearchKit as a dependency:
- Select your Project in the Project Navigator.
- Go to the General tab of your target.
- Under Frameworks, Libraries, and Embedded Content, click the + button.
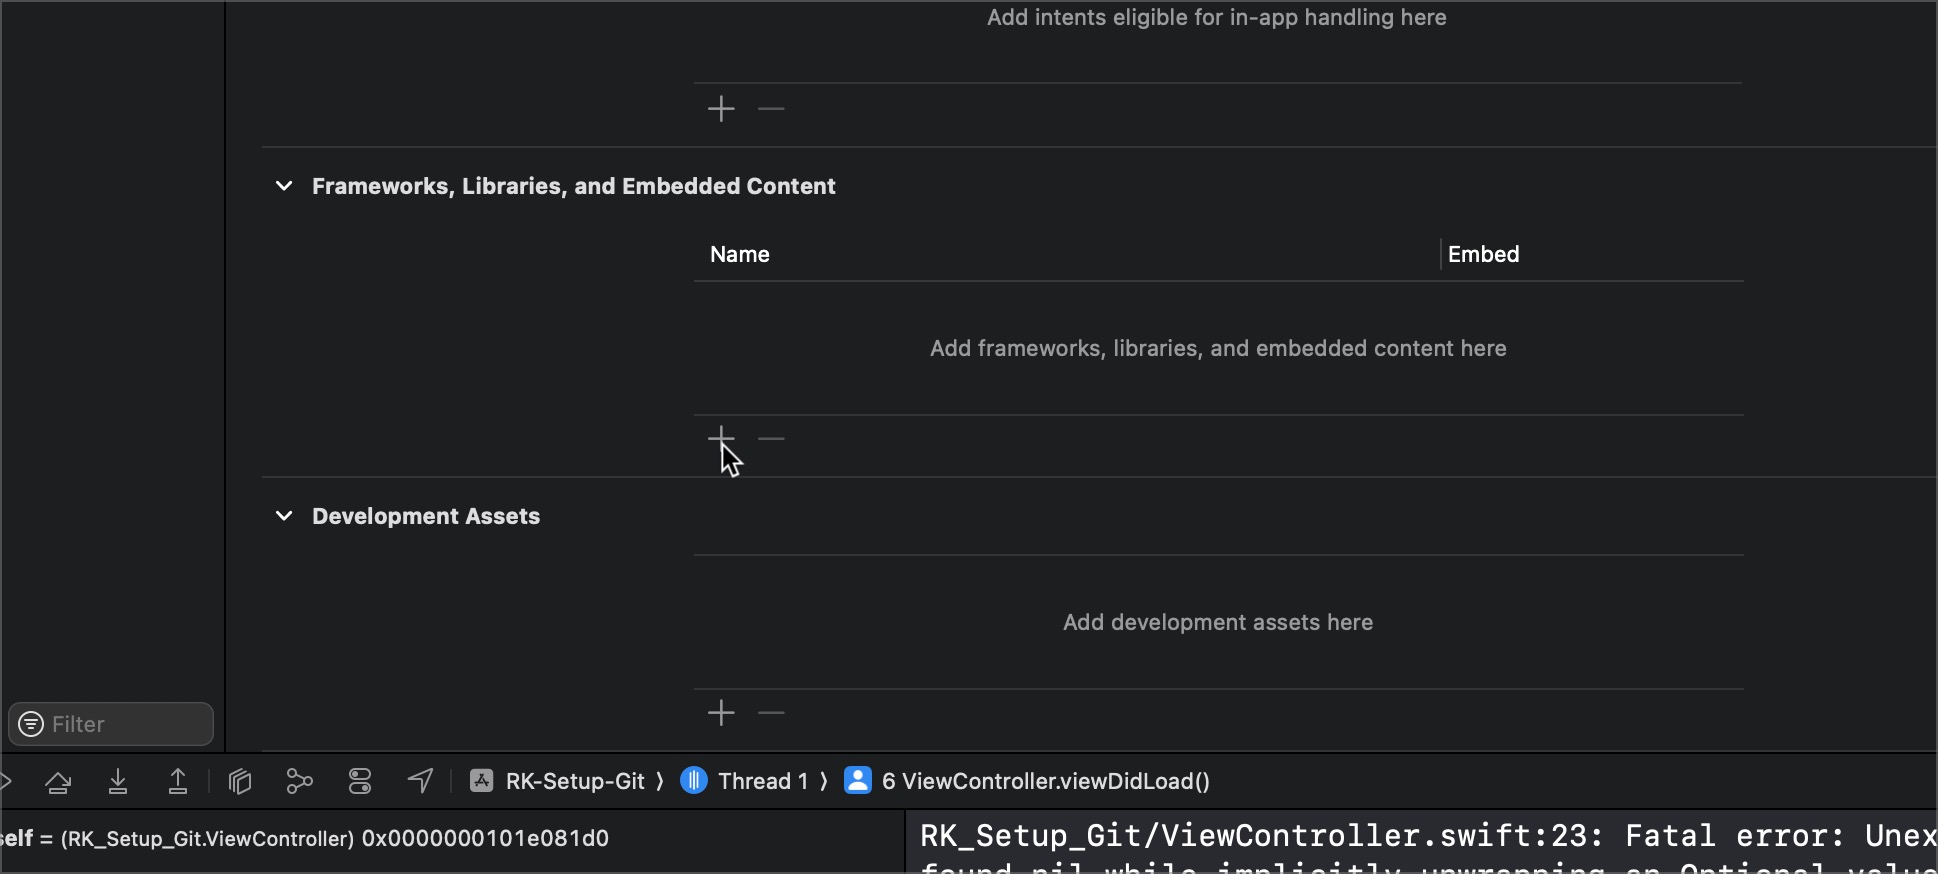
- Select ResearchKit.framework (and other frameworks that you requiere) from the list (you should see it under “Workspace”).
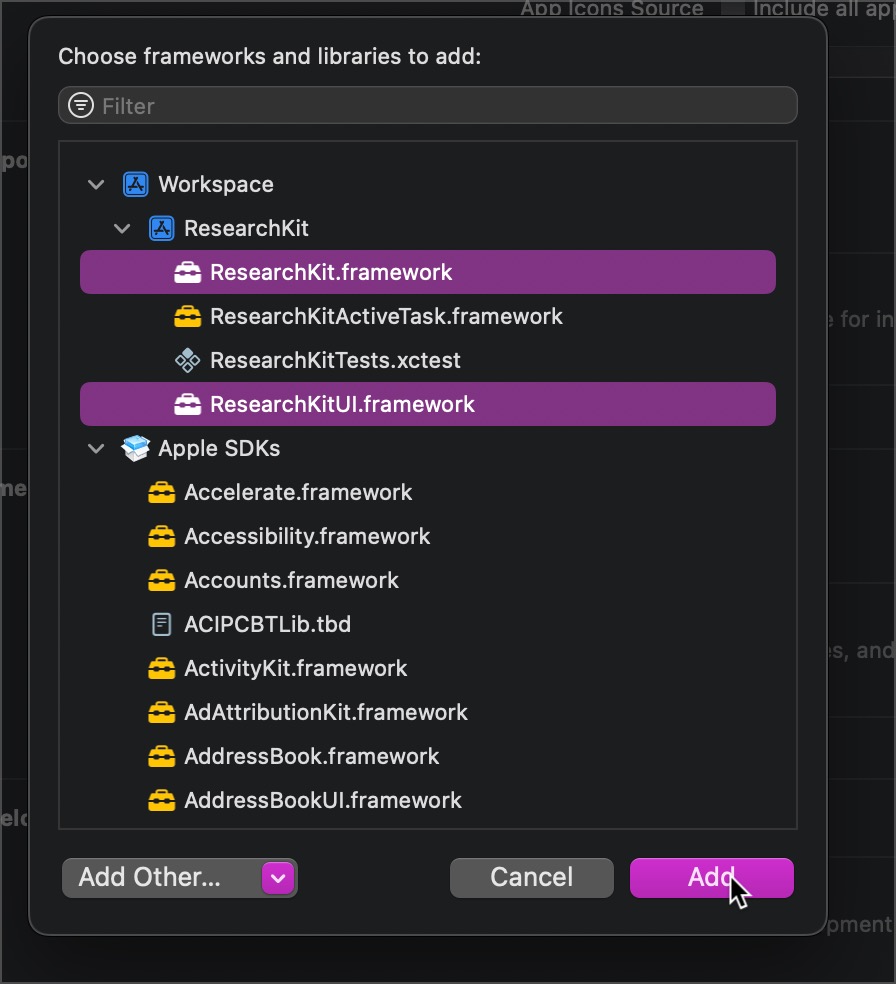
- Set ResearchKit to Embed and Sign:
- Under Frameworks, Libraries, and Embedded Content, ensure that the ResearchKit.framework is set to Embed & Sign.

Step 3: Configure Build Settings**
-
Go to the Build Phases tab for your app target.
-
Link ResearchKit:
-
In the Link Binary with Libraries section, ensure that ResearchKit.framework is included.
-
If it is not listed, click the + button, and select ResearchKit.framework.
 3. Add ResearchKit as a Target Dependency:
Step 4: Use ResearchKit in Your Project
Now that ResearchKit is properly set up as a submodule, you can start using it in your code:
- Import ResearchKit in the Swift files where you want to use it:
import ResearchKit
if you can write import Resea and Xcode shows the auto comple suggestion to include ResearchKit, your project is ready.
- Create and present ResearchKit tasks as needed.
Summary
By using ResearchKit as a Git submodule, you gain more control over the version you’re using, and you keep dependencies managed directly through Git. This approach is especially useful when you want to track changes in ResearchKit or if you prefer not to use CocoaPods for dependency management.
Example of usage with a survey task
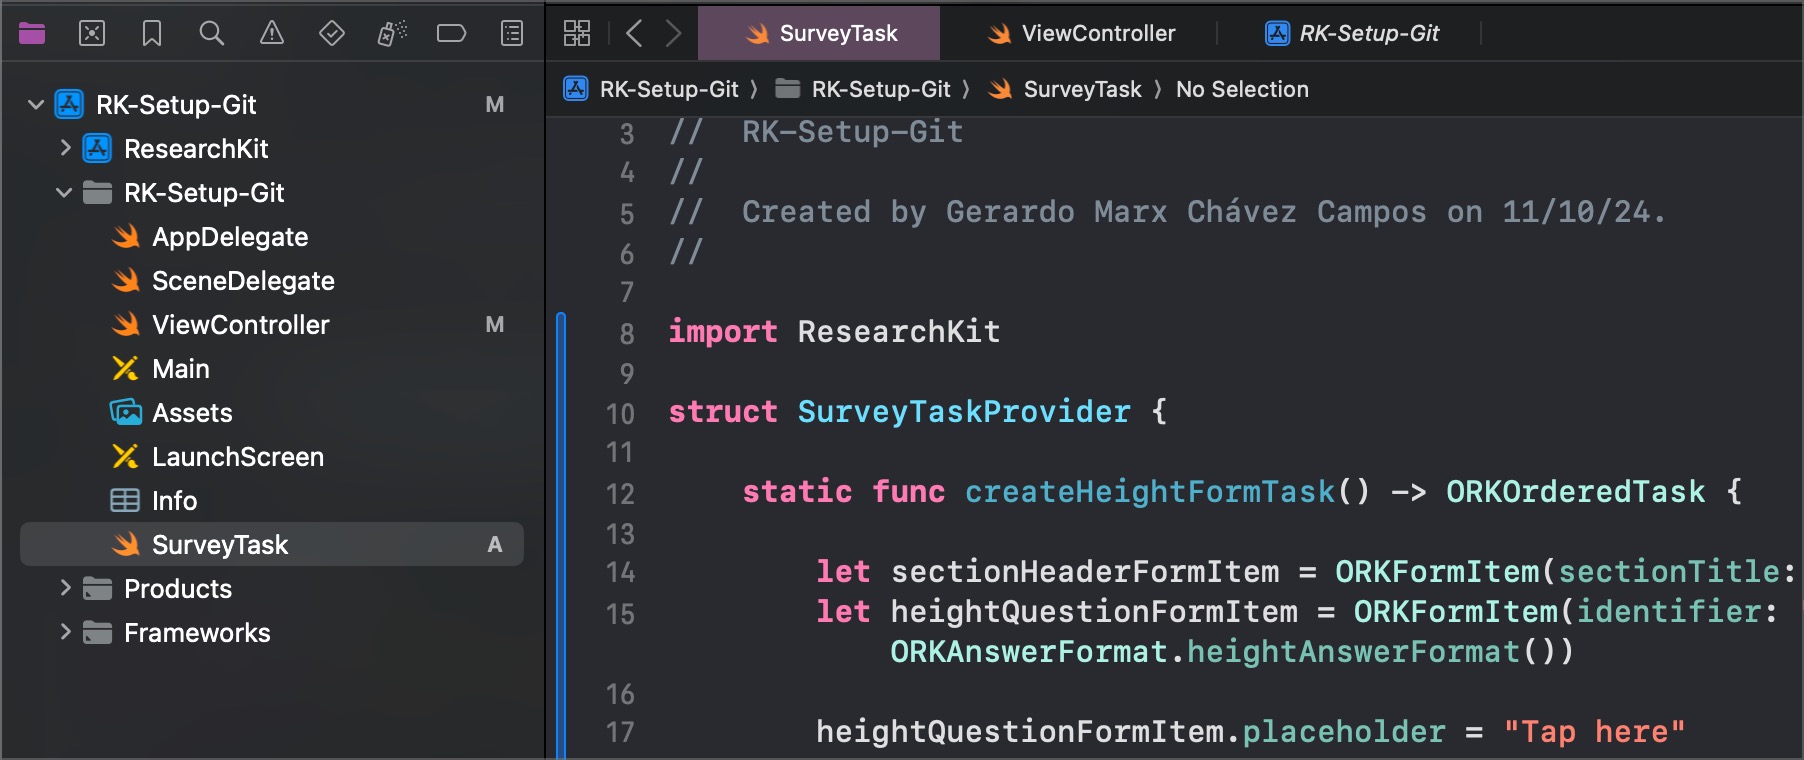
For the implementation of this example we are going to add a new swift file, as shown in the following image and named it SurveyTask:
The content of the SurveyTask.swift file[1^]:
import ResearchKit

struct SurveyTaskProvider {

    static func createHeightFormTask() -> ORKOrderedTask {

        let sectionHeaderFormItem = ORKFormItem(sectionTitle: "What's your height?")
        let heightQuestionFormItem = ORKFormItem(identifier: "heightQuestionFormItem1", text: nil, answerFormat: ORKAnswerFormat.heightAnswerFormat())

        heightQuestionFormItem.placeholder = "Tap here"

        let formStep = ORKFormStep(identifier: "HeighQuestionIdentifier",
                                   title: "Height info",
                                   text: "Please answer the questions")

        formStep.formItems = [sectionHeaderFormItem, heightQuestionFormItem]

        return ORKOrderedTask(identifier: "Survey Task", steps: [formStep])
    }
}
The ViewController file should be modified to make and Outlet and Action for a button to deploy the Survey:
import UIKit
import ResearchKit
import ResearchKitUI


class ViewController: UIViewController {

    @IBOutlet weak var startTapped: UIButton! // variable for the button

    @IBAction func startSurveyTapped(_ sender: Any) { // action for button
        presentHeightSurvey()
    }

    override func viewDidLoad() {
        super.viewDidLoad()
        // Do any additional setup after loading the view.
        startTapped.setTitle("Start Survey", for: .normal)
    }

    func presentHeightSurvey() {
        let taskViewController = ORKTaskViewController(task: SurveyTaskProvider.createHeightFormTask(), taskRun: nil)
        taskViewController.delegate = self
        present(taskViewController, animated: true, completion: nil)
    }
}

// Extesions can be in other file:

extension ViewController: ORKTaskViewControllerDelegate {
    func taskViewController(_ taskViewController: ORKTaskViewController, didFinishWith reason: ORKTaskFinishReason, error: (any Error)?) {

        // Handle the completion of the task and dismiss the view controller
        taskViewController.dismiss(animated: true, completion: nil)

        //handle error
        guard reason == .completed else {
            if let error = error {
                print("The task was not completed: \(error.localizedDescription)")
            }
            return
        }

        // processing results:
        if let results = taskViewController.result.results as? [ORKStepResult] {
            processSurveyResults(results)
        }
    }

    private func processSurveyResults(_ results: [ORKStepResult]) {
        // here
        for stepResults in results {
            for result in stepResults.results! {
                if let questionResult = result as? ORKQuestionResult {
                    print("Question ID: \(questionResult.identifier)")
                    processQuestionResult(questionResult)
                }
            }
        }
    }


    private func processQuestionResult(_ result: ORKQuestionResult) {
        if let heightResult = result as? ORKNumericQuestionResult, result.identifier == "heightQuestionFormItem1" {
            if let heigth = heightResult.numericAnswer {
                print("User's heigth is: \(heigth) cm")
            }
        }
    }

}
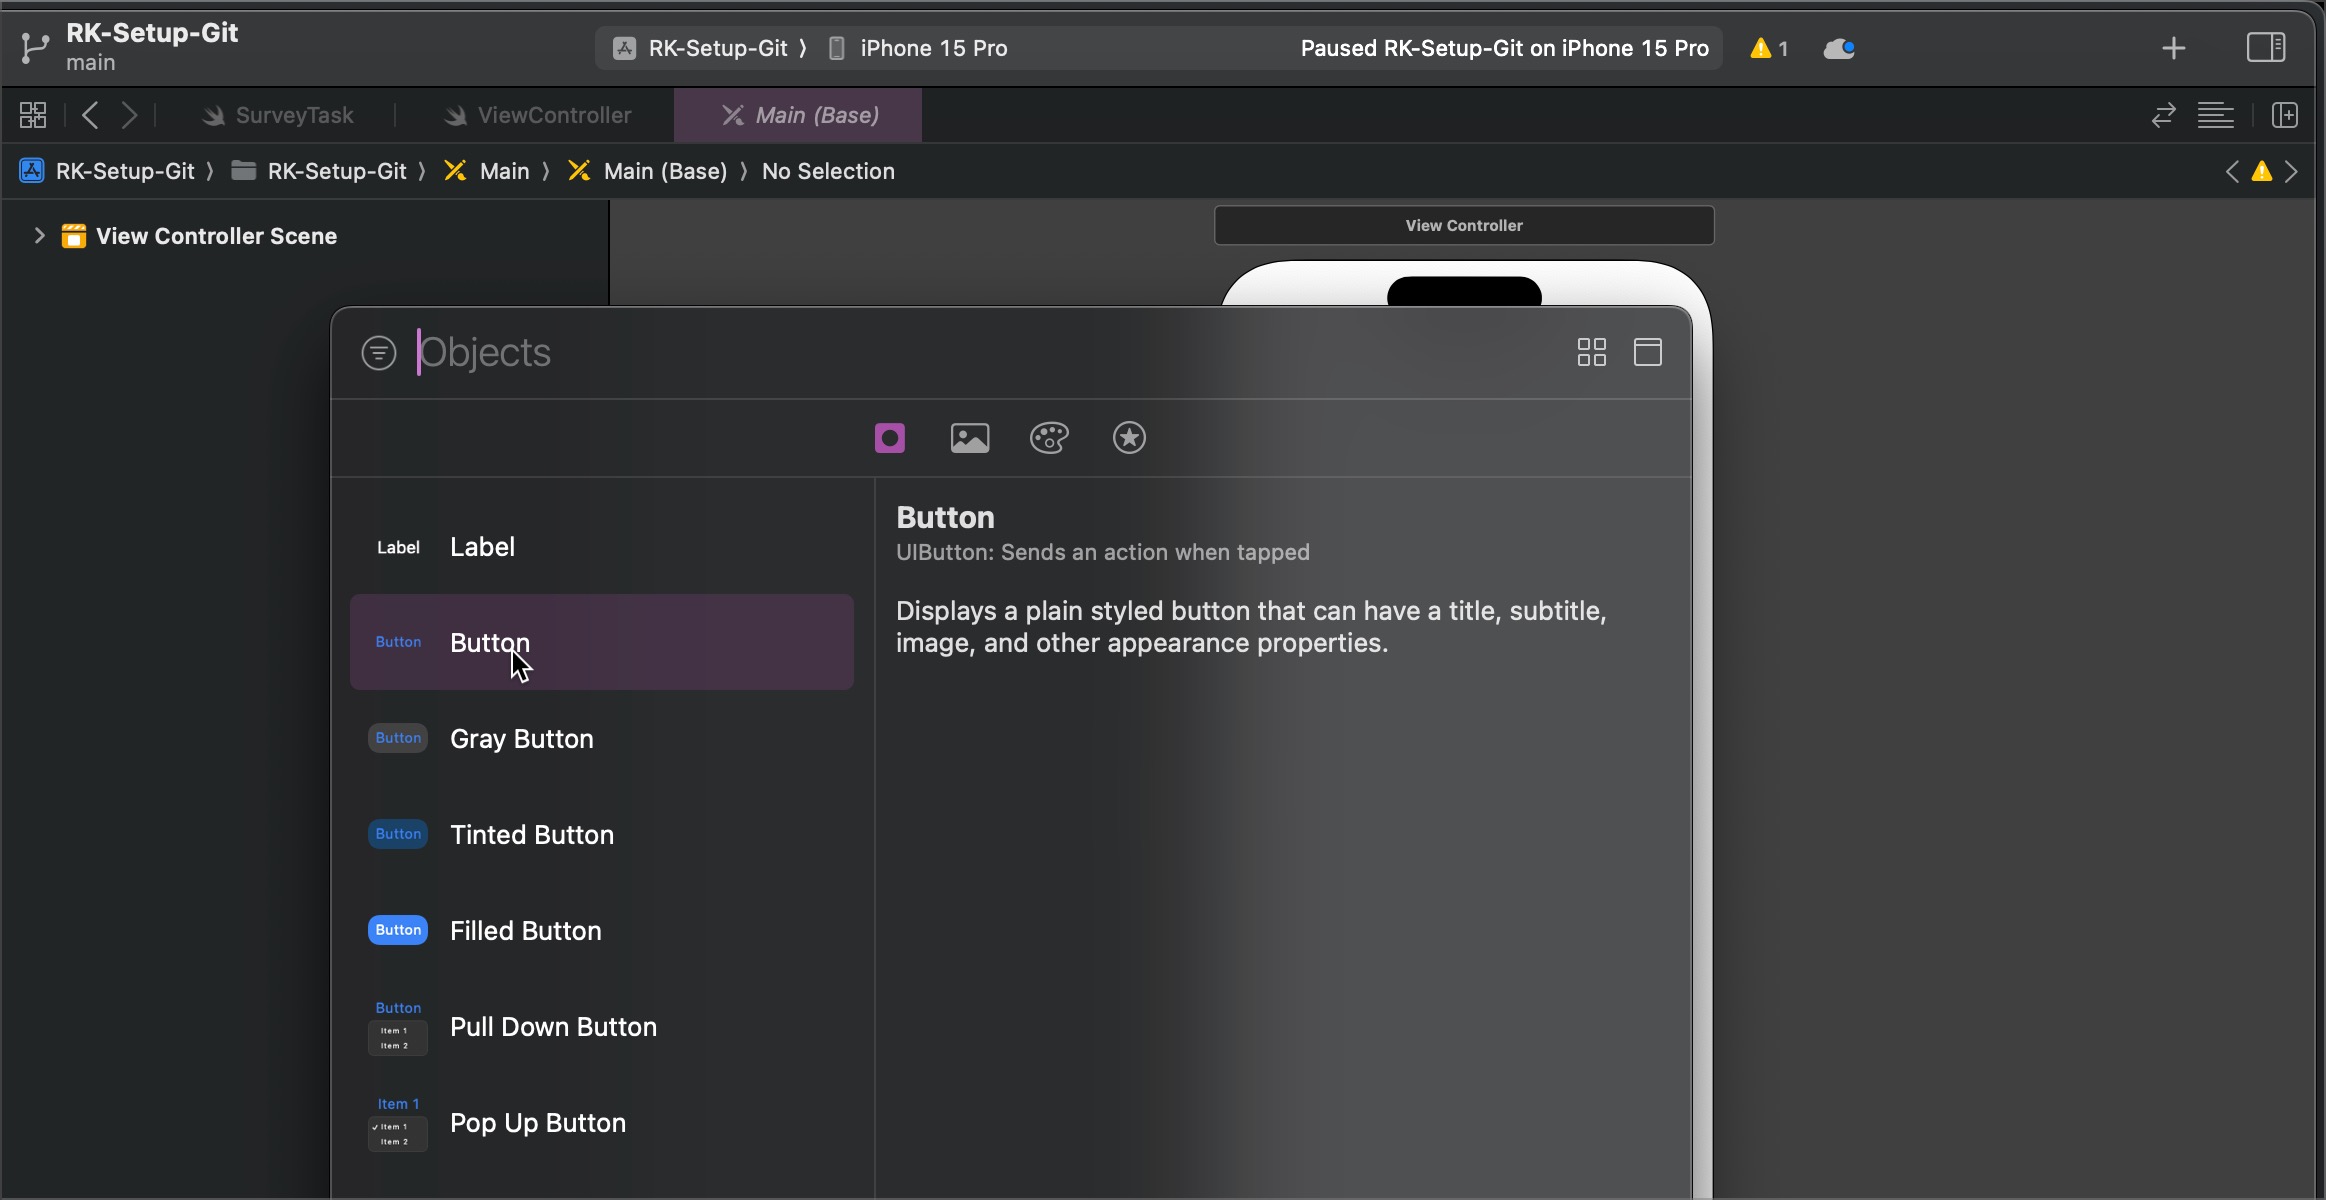
- place the button in the area that you prefer:
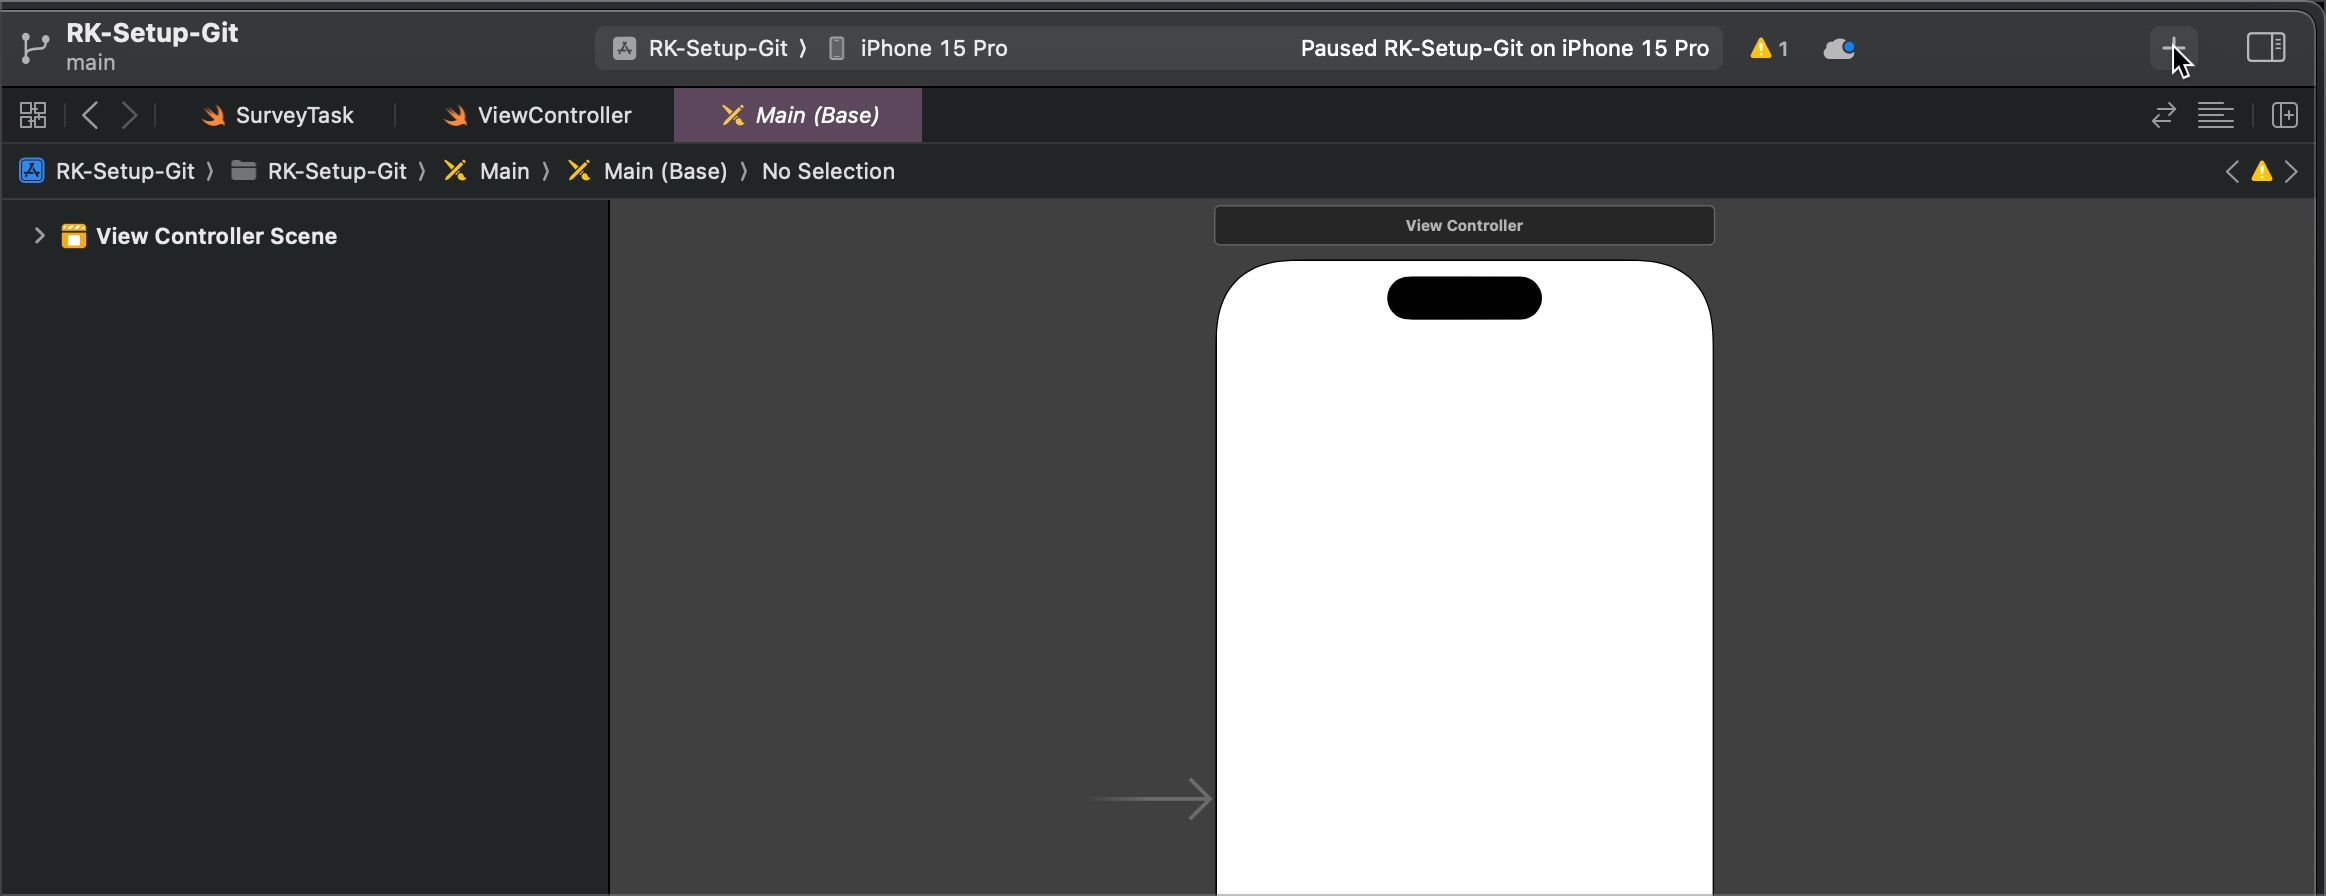
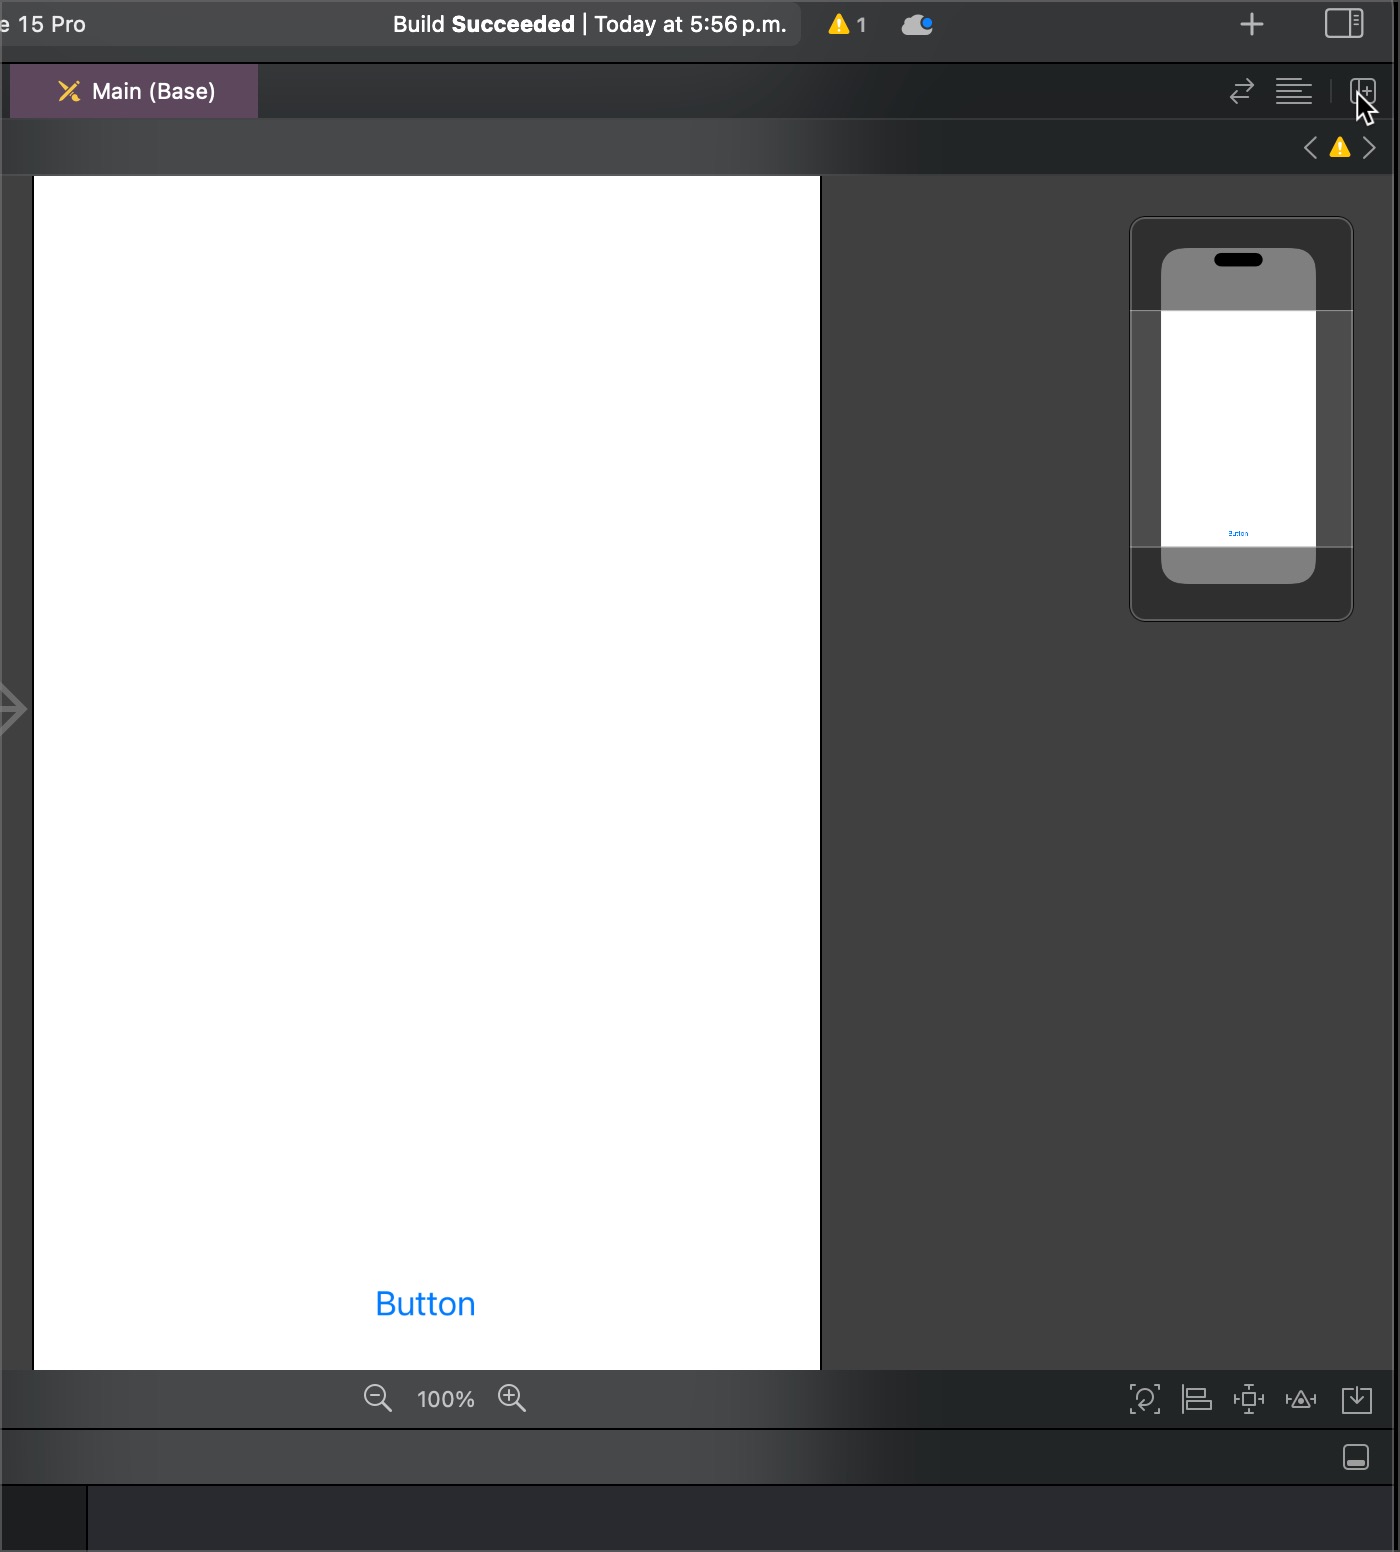
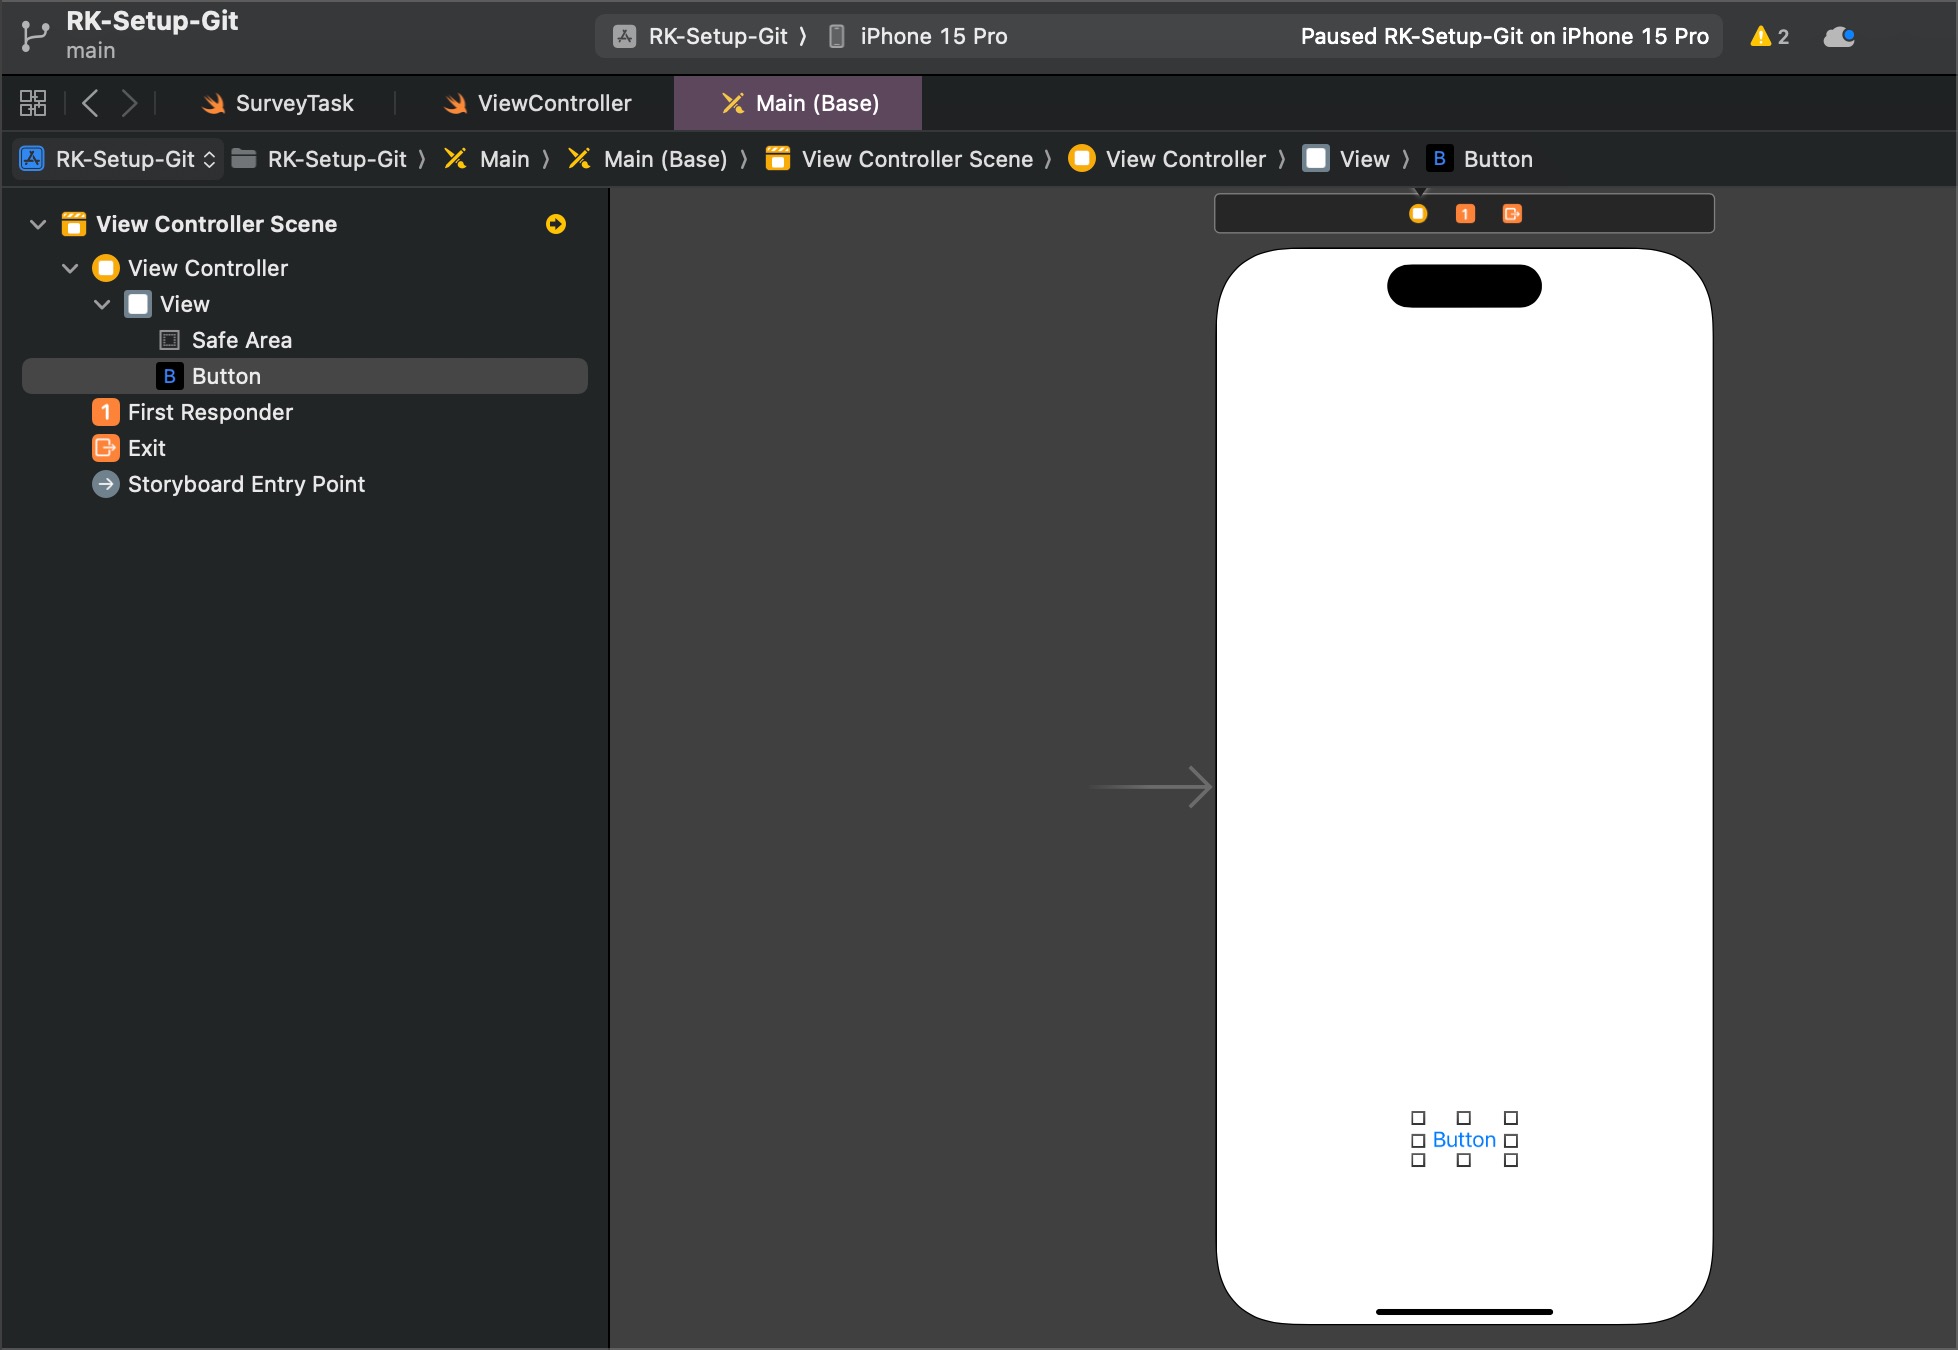 then, you must associate the already writted
 @Outletand@Actionby placing and extra editor at right pressing the + button as shown next:
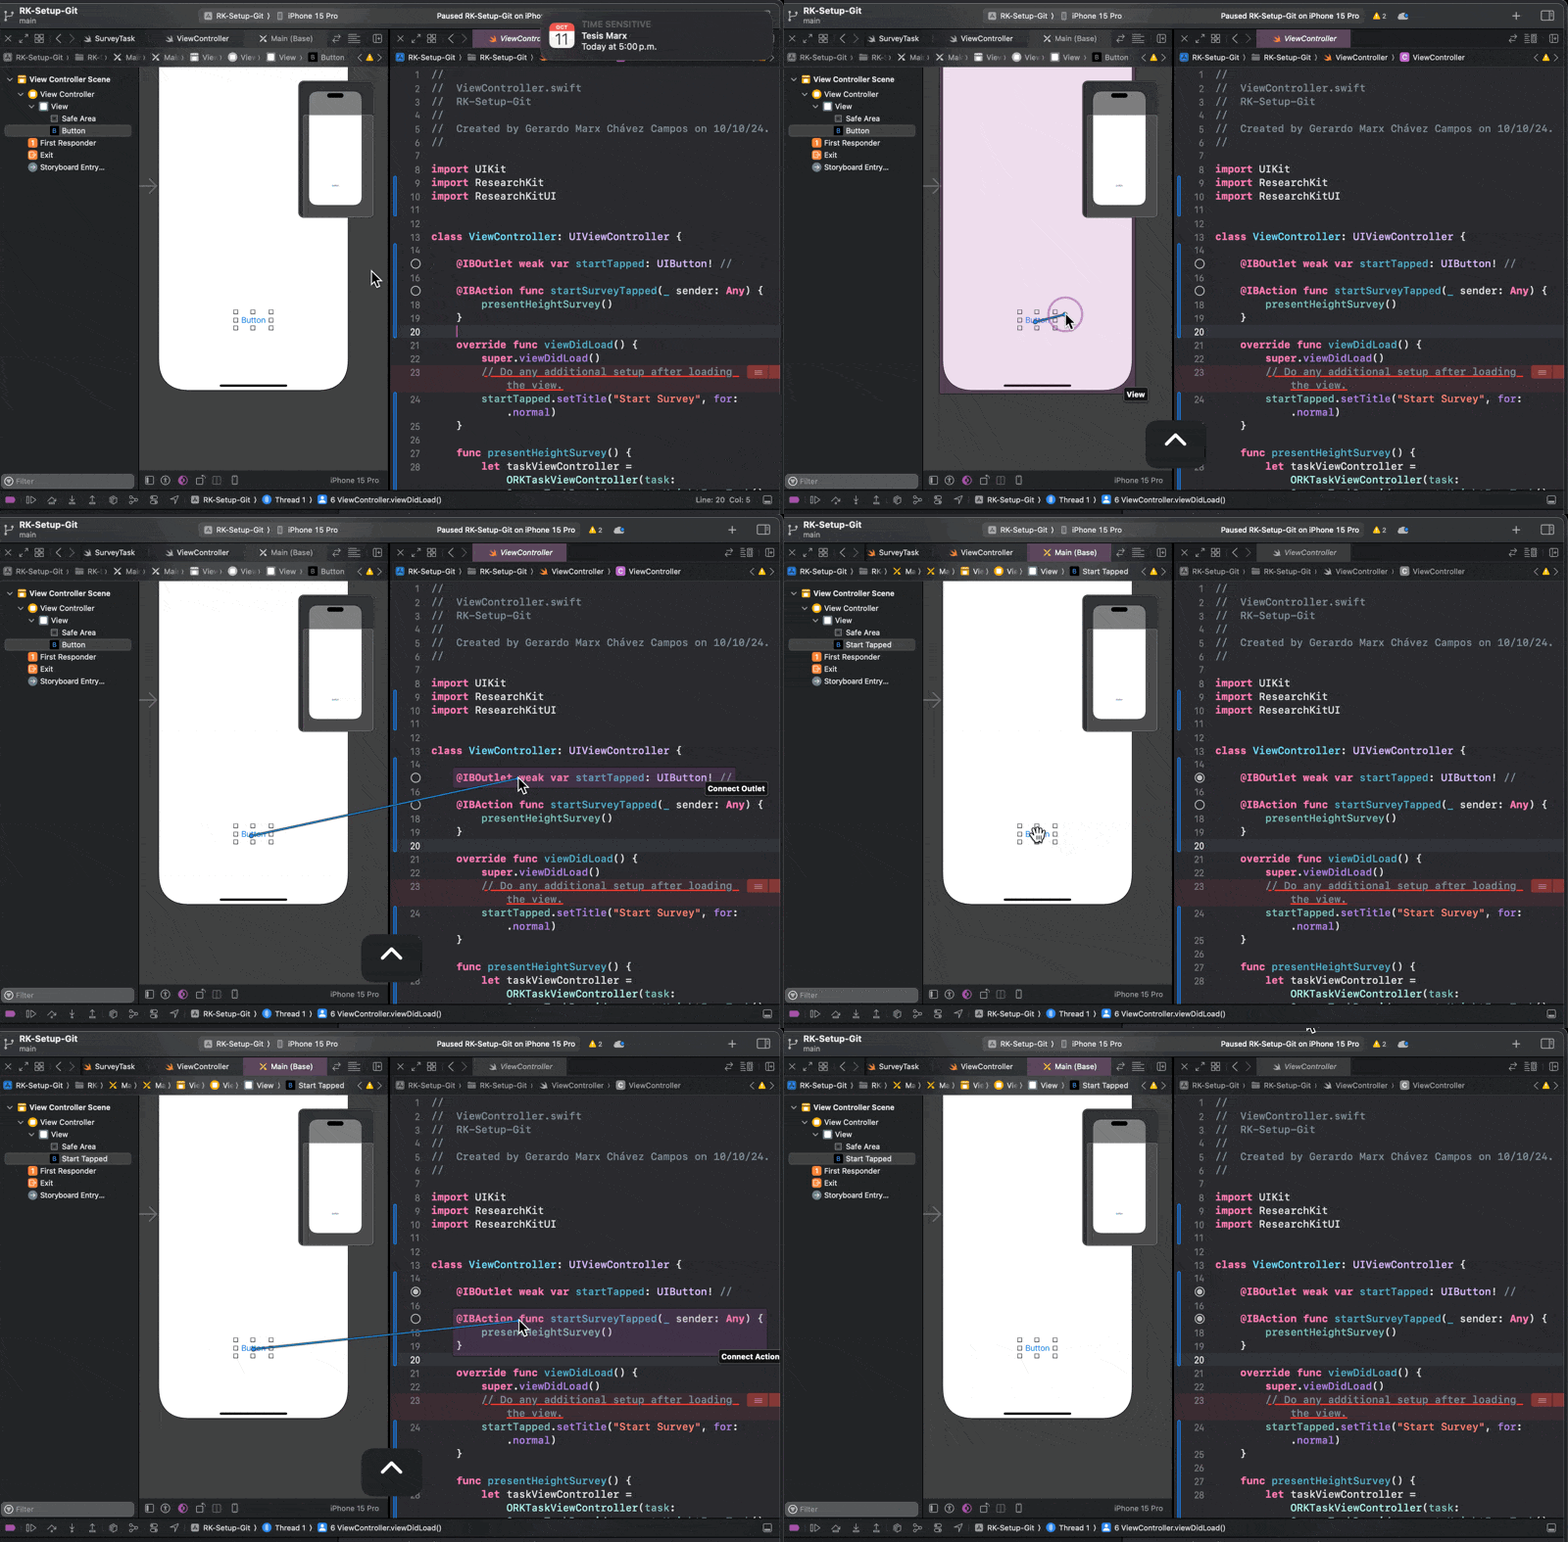
- Next, place at the left the
Mainstory board (View controller scene) and at right the ViewCotroller code to associete the elements:
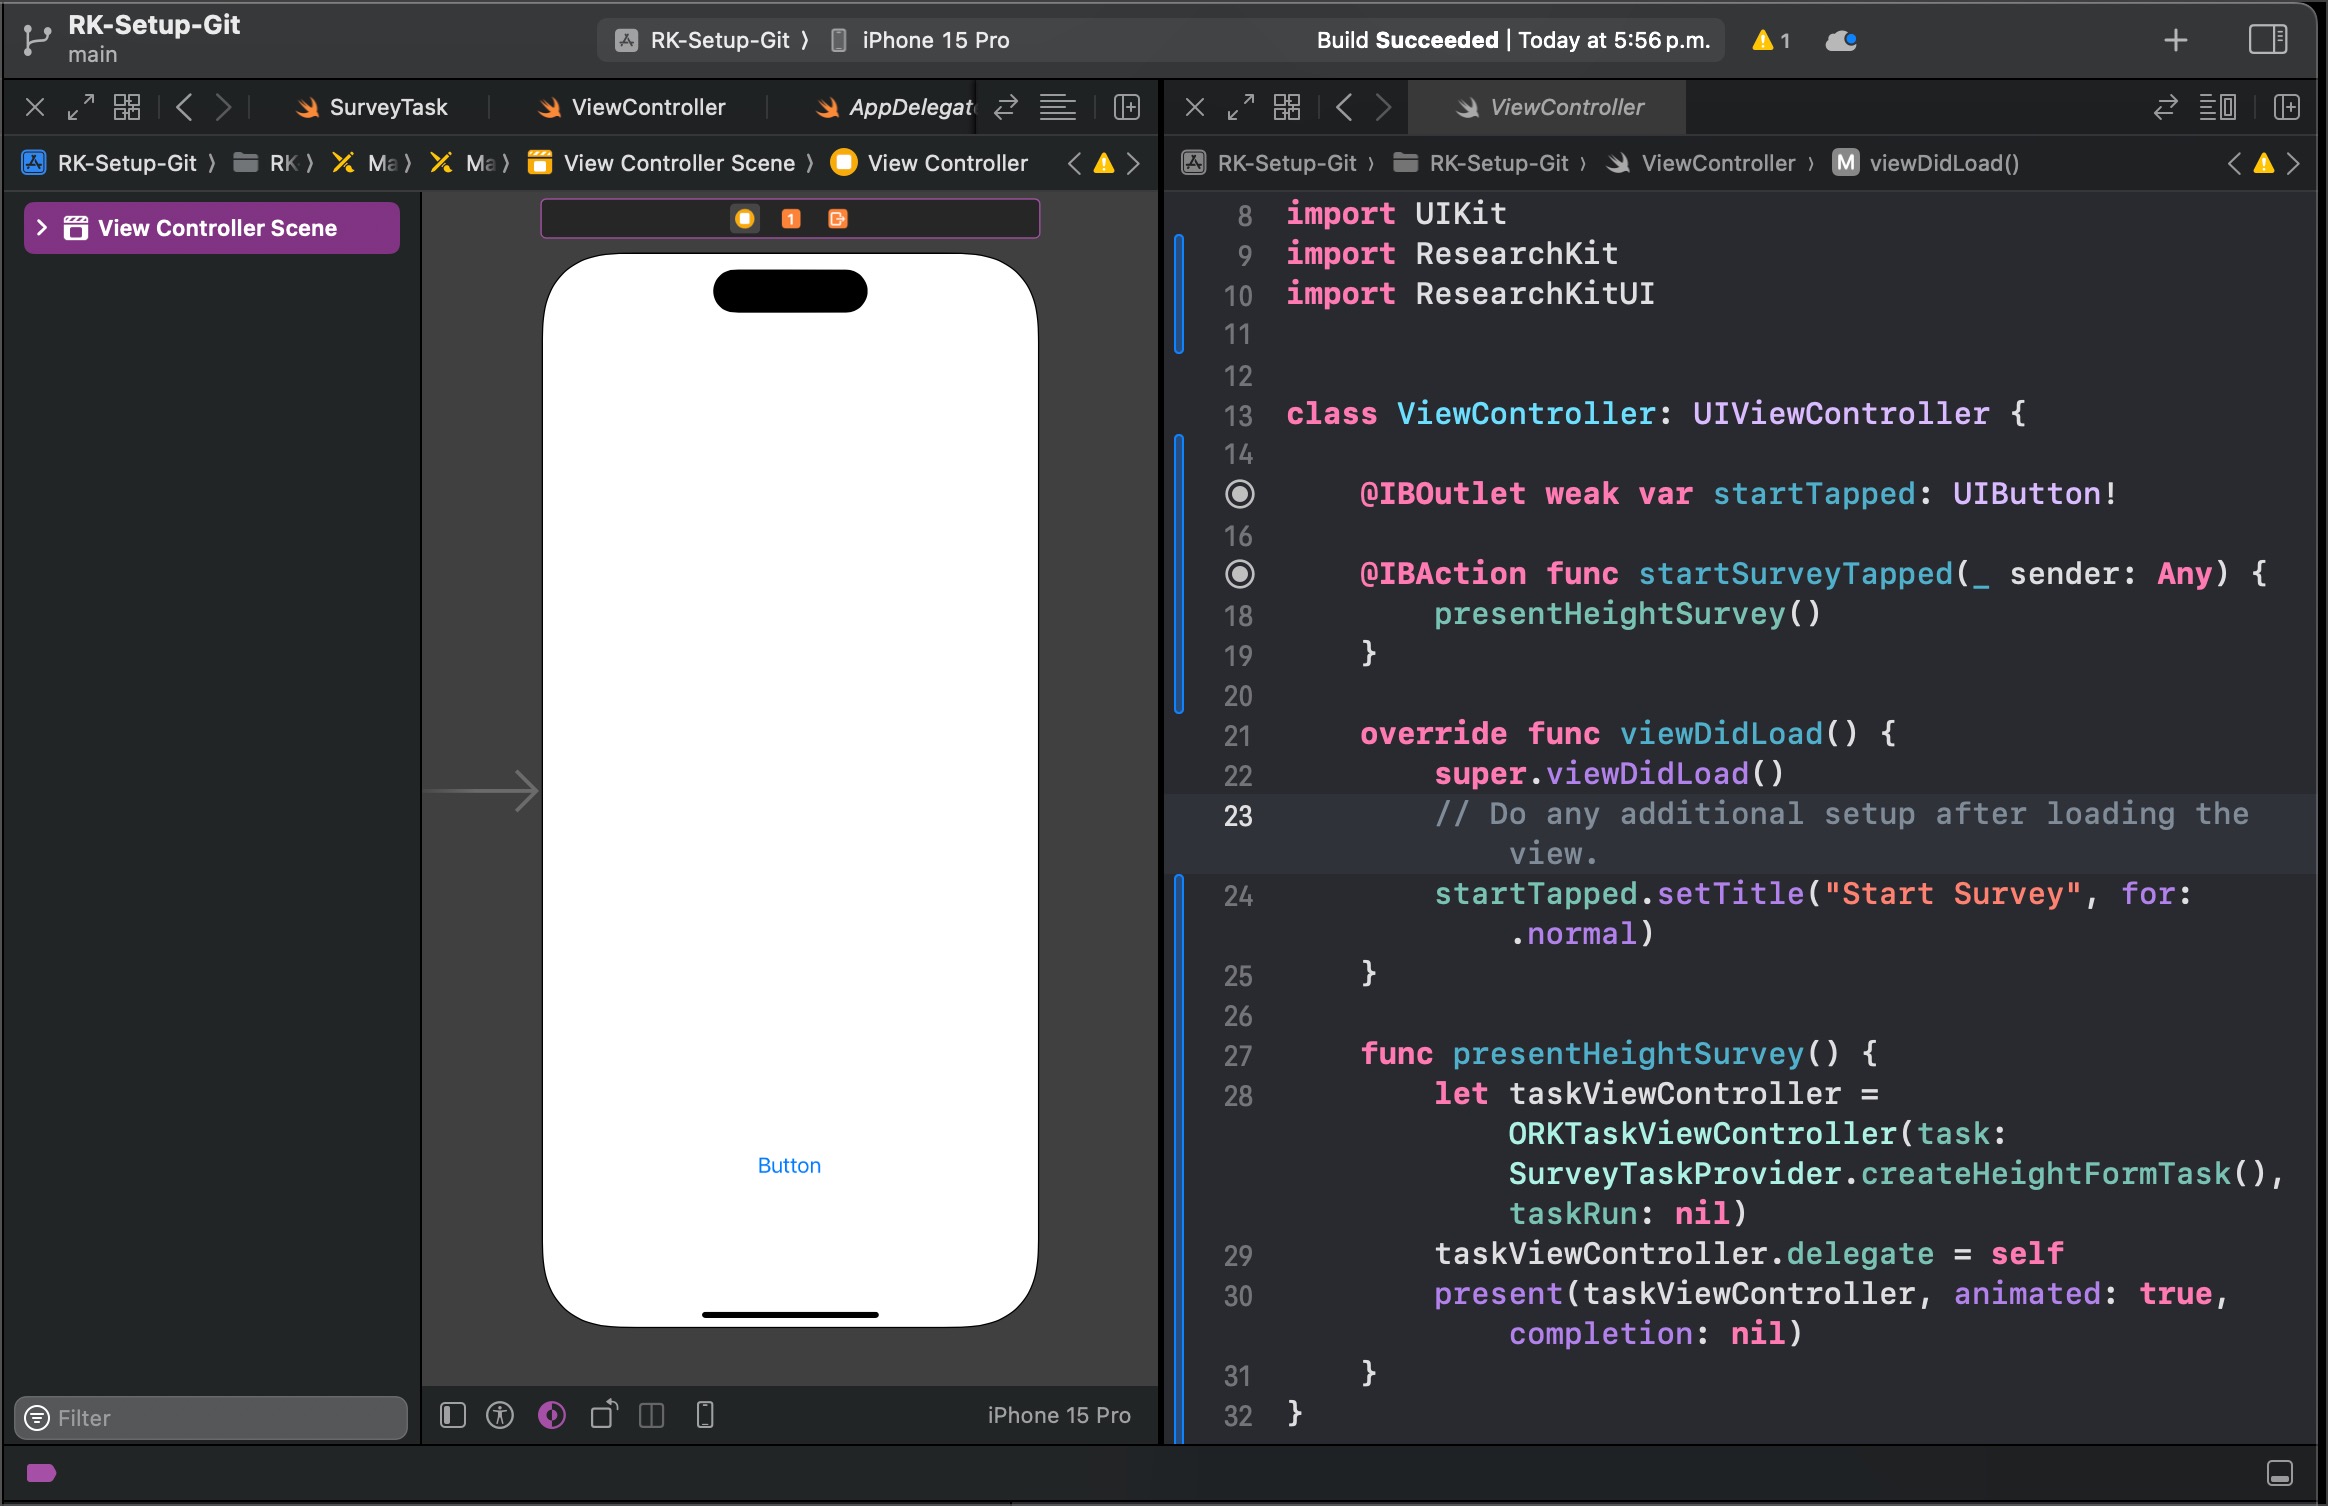 Press
Press CTR key and drag and drop the button element at the @Outlet and @Action code lines as shown next:
This means that the button component is now asociated with the startTapped var name and with the action when button is pressed. Remember that you can create your own outlets and actions by dragging in any line at the viewcontroller file.
