|
|
1 month ago | |
|---|---|---|
| data | 2 months ago | |
| images | 2 months ago | |
| sensors/HTU21D | 2 months ago | |
| .gitignore | 2 months ago | |
| PaginaResultado.png | 2 months ago | |
| README.md | 1 month ago | |
| RaspberryPi4_Sensor_PinMap.jpg | 2 months ago | |
| index-css.html | 2 months ago | |
| index.html | 1 month ago | |
| index.nginx-debian.html | 2 months ago | |
README.md
Raspberry Pi 4 Temperature & Humidity Monitoring System (HTU21D)
Project Overview
The Temperature-Humidity-Sensor is the first module in a series of sensors for GNU/Linux intended for the construction of weather microstations that will be responsible for measuring air quality, which allows the collection, transmission on IoT networks and efficient analysis of data, which will be stored in a SQLite database within a main server, with an interactive front-end that will provide a clear and detailed visualization of the data to identify patterns and trends for decision-making.
This module monitors temperature and humidity in real time using a Raspberry Pi 4 and an HTU21D sensor. The sensor reads the environmental data, sends it via I2C, processes it with a C program, and displays the results on a web dashboard using Nginx.
Objective
The objective is to learn about the development of drivers to establish communication between a sensor (hardware) responsible for collecting data and a set of programs (software) that process this data, design a target compatible with a Raspberry Pi to create weather microstations responsible for monitoring air quality, and learn to design and implement electronic circuits.
In addition to the objective of completing the Delfin program stay and obtaining new skills and knowledge to further develop my professional career.
System Architecture
The module is designed as a simple data channel where we connect the sensor HTU21D to a web interface for real-time data visualization. As follows:
HTU21D Sensor → I2C → C Program → JSON File → Nginx → Web Browser
The sensor collects temperature and humidity data, sends it via the I2C Protocol to a Raspberry Pi 4, which reads and converts it into temperature and humidity values using a C program,then stores them in a JSON file. Nginx serves this file along with the web interface (HTML), where a JavaScript script fetches the data and updates the displayed values in real time.
Materials
Hardware
- Raspberry Pi 4
- HTU21D sensor
- Jumper wires (female-to-female)
- MicroSD card with Raspberry Pi OS
- Power supply
Software
- Raspberry Pi OS / Debian
- GCC compiler
- i2c-tools
- libi2c-dev
- Nginx
- Git
Hardware Connections
Pin Reference Images

Wiring Table
| HTU21D | Raspberry Pi 4 |
|---|---|
| VCC | 3.3V |
| GND | GND |
| SDA | GPIO2 (SDA) |
| SCL | GPIO3 (SCL) |
Deployment Guide
1. Install Dependencies
sudo apt update
# Updates package list

sudo apt install gcc i2c-tools libi2c-dev nginx git
# Installs compiler, I2C tools, web server, and Git
2. Clone the Repository
git clone https://gitea.itmorelia.com/Verano-Delfin-2026/Temperature-Humidity-Sensor.git
# Downloads the project from the server

cd Temperature-Humidity-Sensor
# Enters the project folder
3. Enable I2C
sudo raspi-config
# Opens Raspberry Pi configuration menu
Go to:
Interfacing Options → I2C → Enable
sudo reboot
# Restarts system to apply changes
4. Verify Sensor
i2cdetect -y 1
# Scans I2C bus for connected devices
Expected:
Warning: Can't use SMBus Quick Write command, will skip some addresses
     0  1  2  3  4  5  6  7  8  9  a  b  c  d  e  f
00:
10:
20:
30: -- -- -- -- -- -- -- --
40: 40 -- -- -- -- -- -- -- -- -- -- -- -- -- -- --
50: -- -- -- -- -- -- -- -- -- -- -- -- -- -- -- --
60:
70:
This output indicates that the sensor is connected at address 0x40.
If the device is not detected and the output looks like this:
Warning: Can't use SMBus Quick Write command, will skip some addresses

     0  1  2  3  4  5  6  7  8  9  a  b  c  d  e  f
00:
10:
20:
30: -- -- -- -- -- -- -- --
40: -- -- -- -- -- -- -- -- -- -- -- -- -- -- -- --
50: -- -- -- -- -- -- -- -- -- -- -- -- -- -- -- --
60:
70:
The sensor may still be connected. Some I2C devices do not respond to SMBus probing commands used by i2cdetect.
In this case, you can try to directly read from the device address.
To read the temperature, send the measurement command (0xE3 for hold mode or 0xF3 for no hold mode) and then read two bytes of data:
sudo i2cget -y 1 0x40 0xE3 w
If you receive a hexadecimal value (e.g., 0x3871), the sensor is properly connected and working.
5. Compile the Sensor Program
cd sensors/HTU21D
# Move to sensor source code

gcc main.c htu21d.c -o HTU21D -li2c
# Compiles the program and links I2C library
6. Deploy Web Files
sudo cp -r ~/Temperature-Humidity-Sensor/* /var/www/html/
# Copies project files to Nginx directory
sudo mkdir -p /var/www/html/data
# Creates folder for JSON output
7. Set Permissions
sudo chmod +x /var/www/html/sensors/HTU21D/HTU21D
# Allows execution of sensor program

sudo chown -R www-data:www-data /var/www/html
# Gives Nginx access to files
8. Run Sensor Loop
cd /var/www/html
# Go to web directory

while true; do ./sensors/HTU21D/HTU21D > data/HTU21D.json; sleep 5; done
# Continuously updates JSON every 5 seconds
9. Start Nginx
sudo systemctl start nginx
# Starts web server

sudo systemctl enable nginx
# Enables auto-start on boot

sudo systemctl status nginx
# Verifies server is running
10. Get Raspberry Pi IP
hostname -I
# Displays local IP address
Example:
192.168.1.100
11. Access from Another Computer
Open a browser and go to:
http://192.168.1.100
12. Result
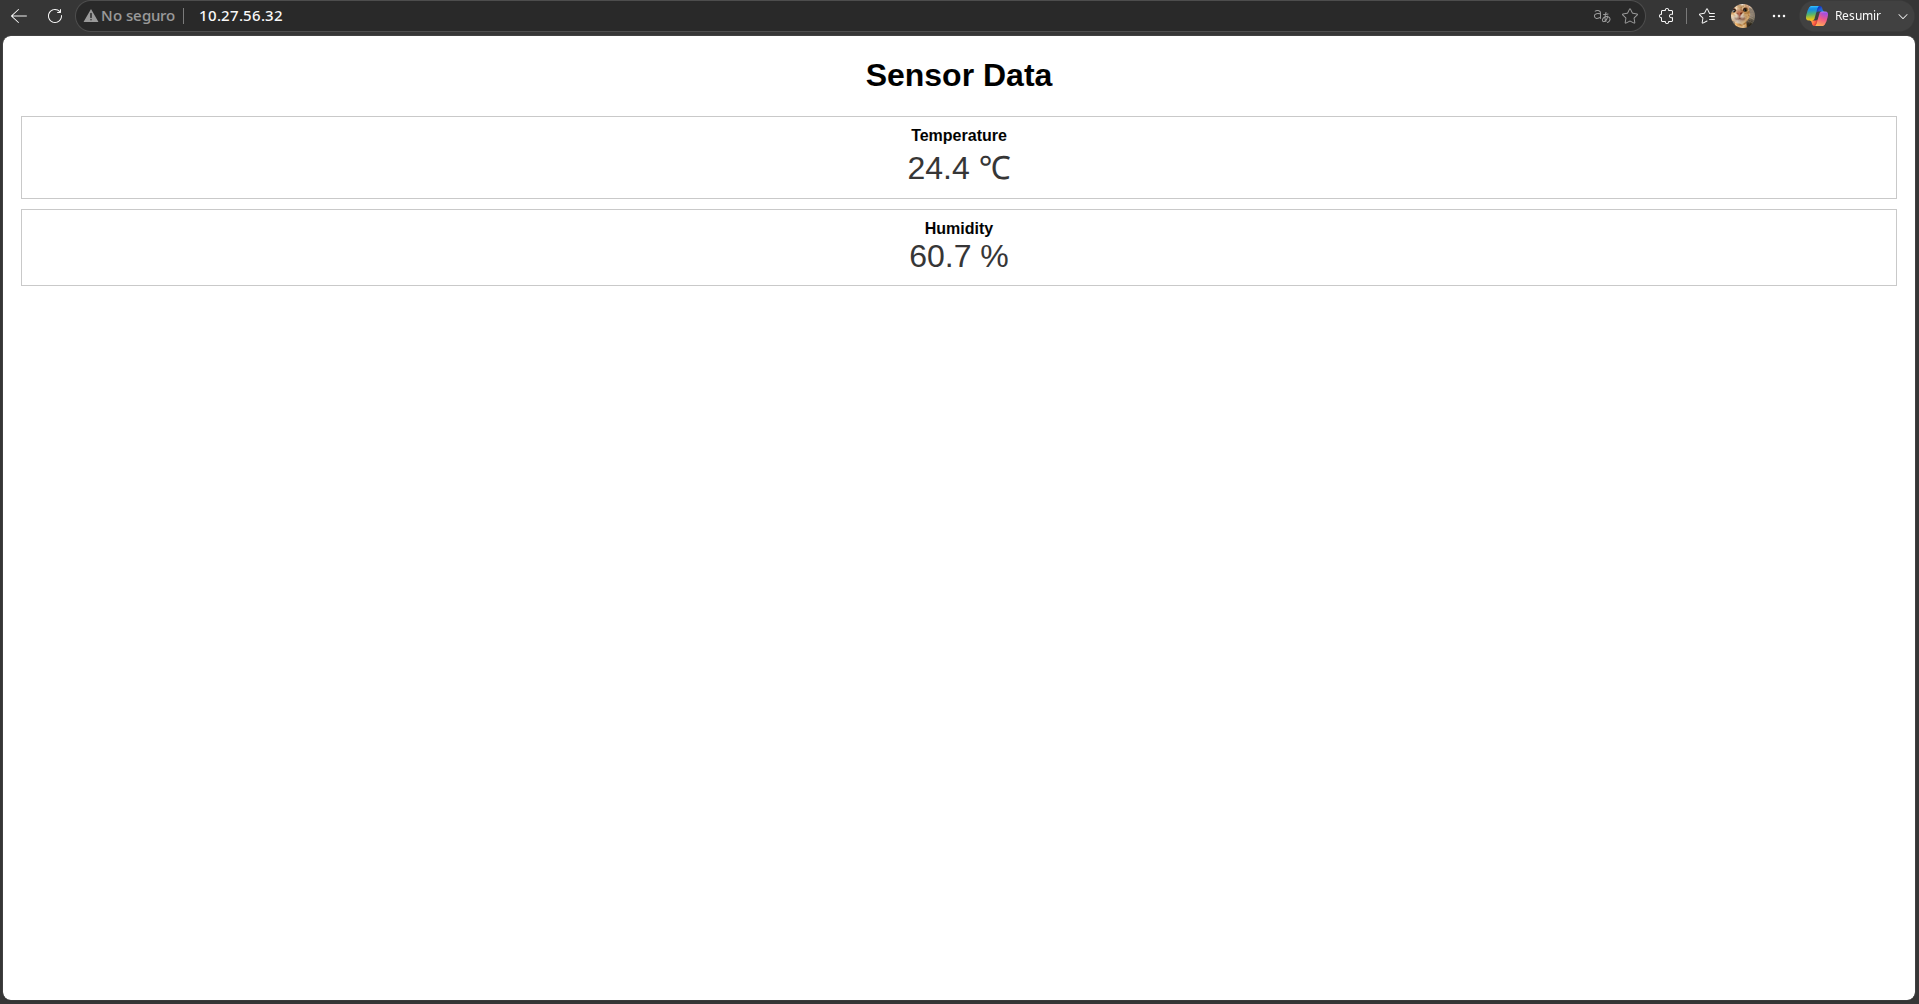
Conclusion
By adapting the project's foundation for operation on a Raspberry Pi, the workings of embedded systems become clearer. Code alone is insufficient; functionality depends on the interaction between the hardware, the communication protocol (I²C), the operating system (Raspberry Pi OS Lite) along with its kernel (Linux), and the developed application.
The HTU21D sensor uses address 0x40 within the I²C protocol, allowing for its unique identification on the communication bus. In this protocol, all devices share the same physical lines but are differentiated by specific addresses and operate using unique command sets for each component. This allows the Raspberry Pi to communicate with each sensor individually, sending precise instructions for data reading without generating transmission conflicts on the network.
The use of this module, along with the other components that will make up the micro-weather station, represents a highly efficient monitoring strategy. Unlike traditional fixed measuring stations—whose large size and high installation and maintenance costs considerably limit their coverage area—this design allows for the manufacture and installation of a complete network of micro-stations for a fraction of the cost of a single, larger unit. This advantage facilitates their distribution at various strategic points throughout the city, resulting in a much broader, more representative, and more specific collection of data that better supports informed decision-making.
Limitations
During the development of this project, several limitations were identified that represent areas of opportunity for future improvements:
-
Limited Data Storage: Currently, the system only collects and displays data in real time, without a persistent storage mechanism. This prevents the generation of measurement histories within a database, limiting short-term analysis.
-
Lack of Data Analysis Tools: The system lacks functionalities geared towards analyzing the collected information, such as generating graphs or statistics at different time intervals. This limitation hinders the identification of patterns and trends that could be useful for decision-making.
-
Lack of Geospatial Integration: There is no integration with a mapping system (for example, through services like Google Maps) that would allow visualization of the micro-weather station's location within the city. Furthermore, address or location information is not displayed on the main interface.
-
User-space driver implementation: The sensor driver is implemented in user space, which limits its efficiency and system integration. A kernel-level driver has not been developed, which would allow for more robust, efficient, and transparent device management within the operating system kernel.