2.4 KiB
Raspberry Pi Initial Setup
This repository is about the latest procedure for configuring Raspberry Pi boards in 2026. The reported procedure can be used with any Raspberry Pi board.
The procedure covers flashing the OS image, establishing an SSH connection via Wi-Fi or USB (Gadget Mode), and finally upgrading the OS packages.
Requirements
- A comfortable shell | bash (cmd or PS) terminal emulator
- Python 3
- Micro SD card and its adapter
Flashing the OS image
Note: This guide is recommended only for the latest OS image or newer; the Trixi image is used in this guide.
First, you need to download the file create_local_json.py. It is recommended to download it to a local repository or an empty folder to organize your data.
Then, open a terminal and change the path to the repository or file location:
cd /path/to/the/file
Now, the file should be visible when listing with commands like ls.
The file must have executable permission; therefore, run:
chmod +x ./create_local_json.py
Now, run the command with the following flags to search online OS images and enable the Gadget mode -USB OTG-:
./create_local_json.py --online --capabilities usb_otg --device-capabilities usb_otg
The shell will give an output similar to:
Wrote 184 images to os_list_local.rpi-imager-manifest
Now, you have a new RPi-imager file that will allow us to set up the gadget mode.
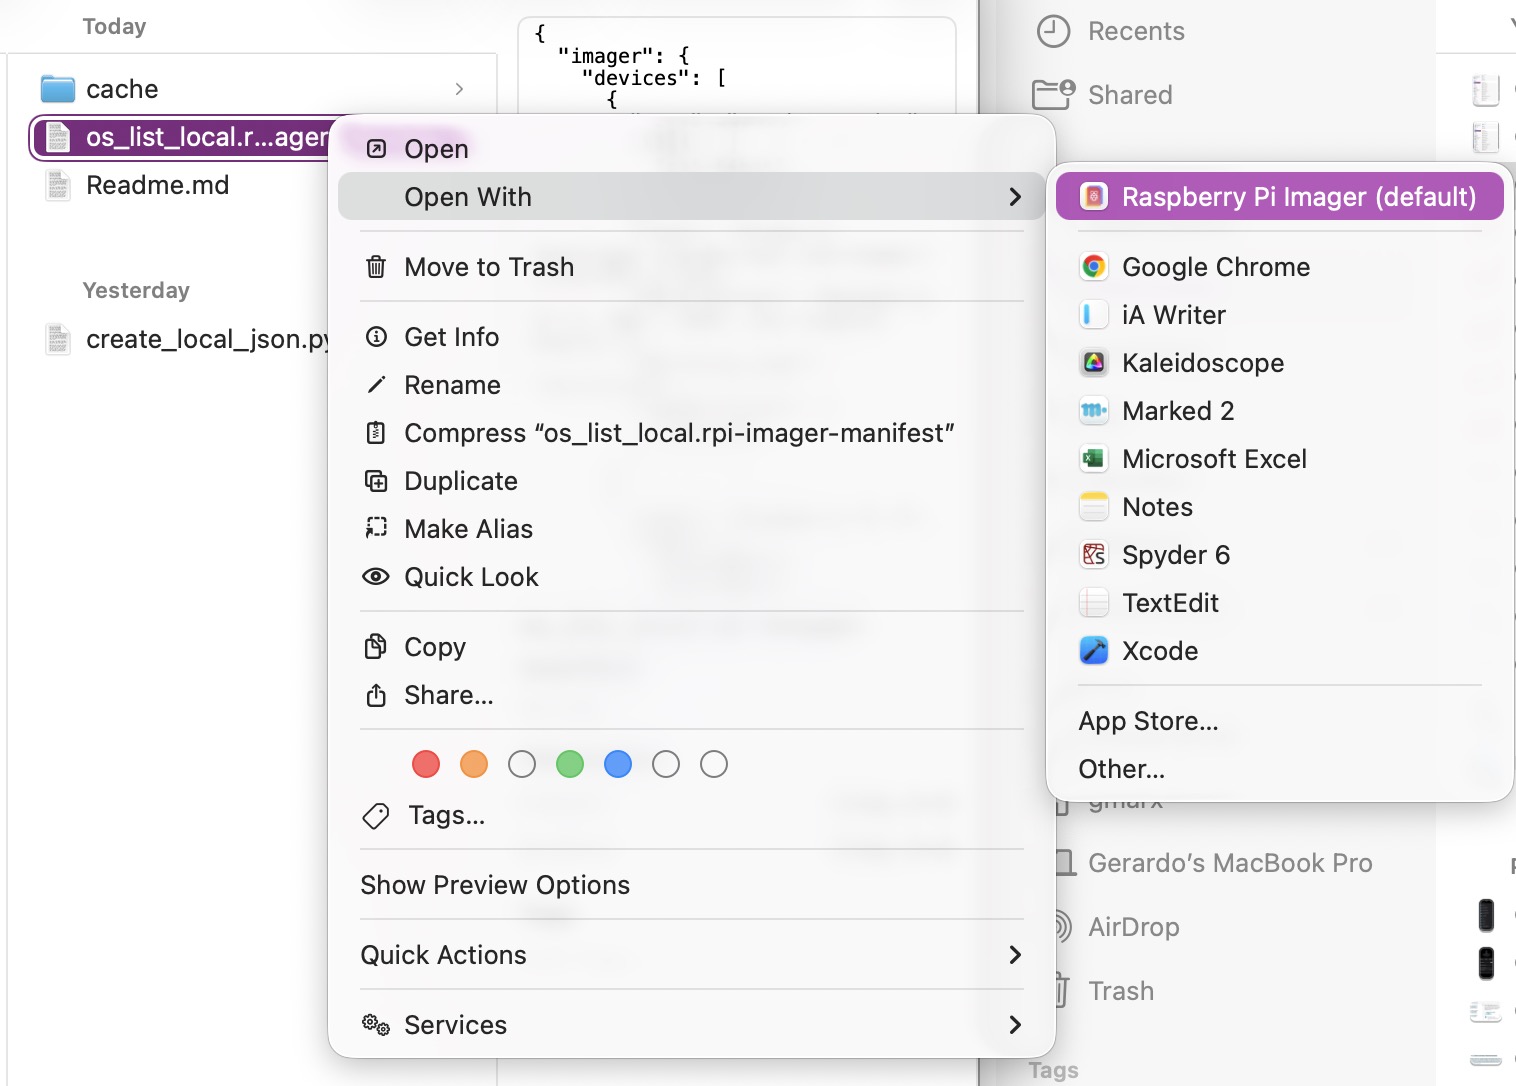
Note: you must double-click the os_list_local.rpi-imager-manifest file to open the Raspberry Pi Imager app, or right-click and open it with Raspberry Pi Imager; the recommended version is v2.0.7 or newer.
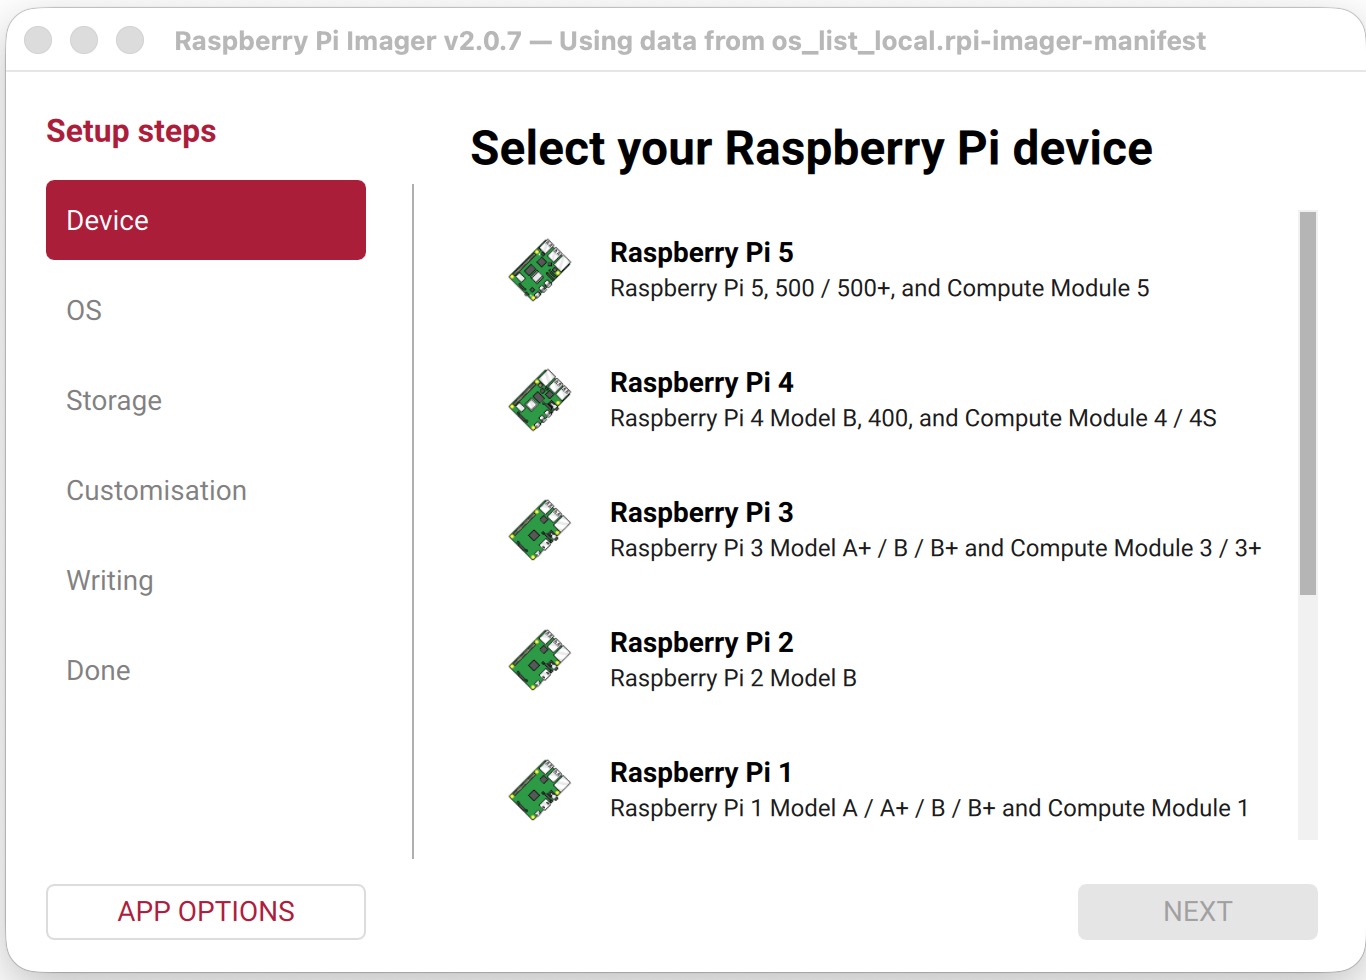
Now, you can select your board, the OS type -desktop or lite-, and customize the image —user, Wi-Fi, remote access (SSH), Pi Connect, and gadget mode—; particularly, if you want to use Gadget mode, you must turn on remote access and gadget mode.
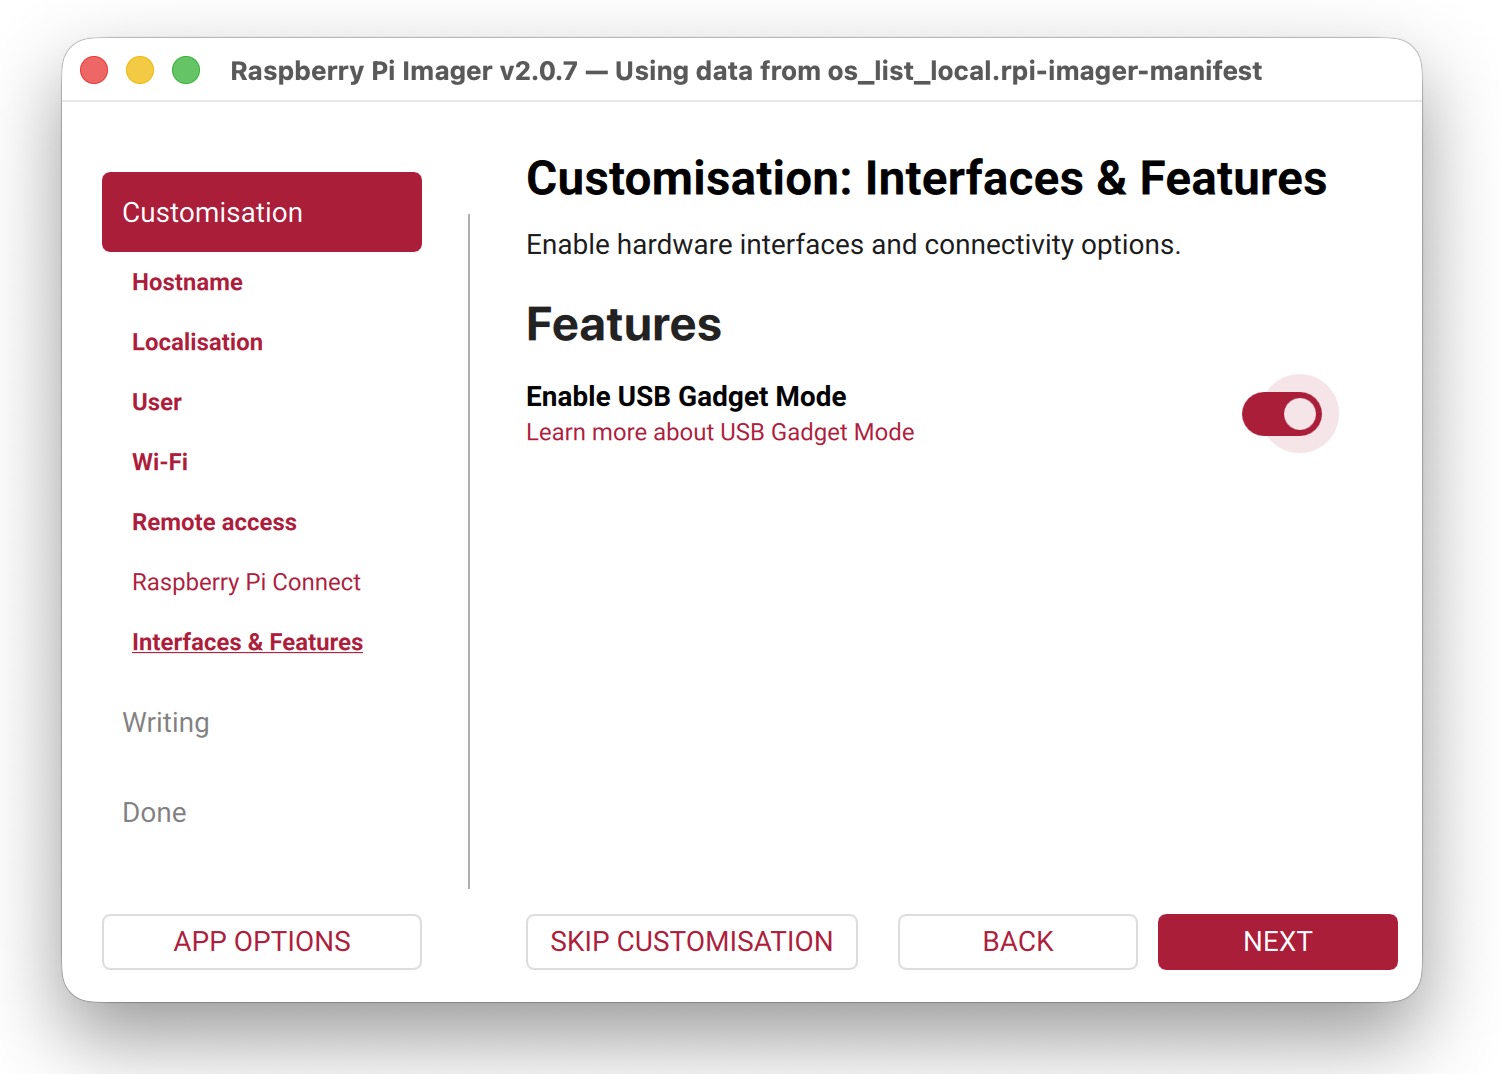
Finally, you must write the image to the microSD card and get an image customazed like this:
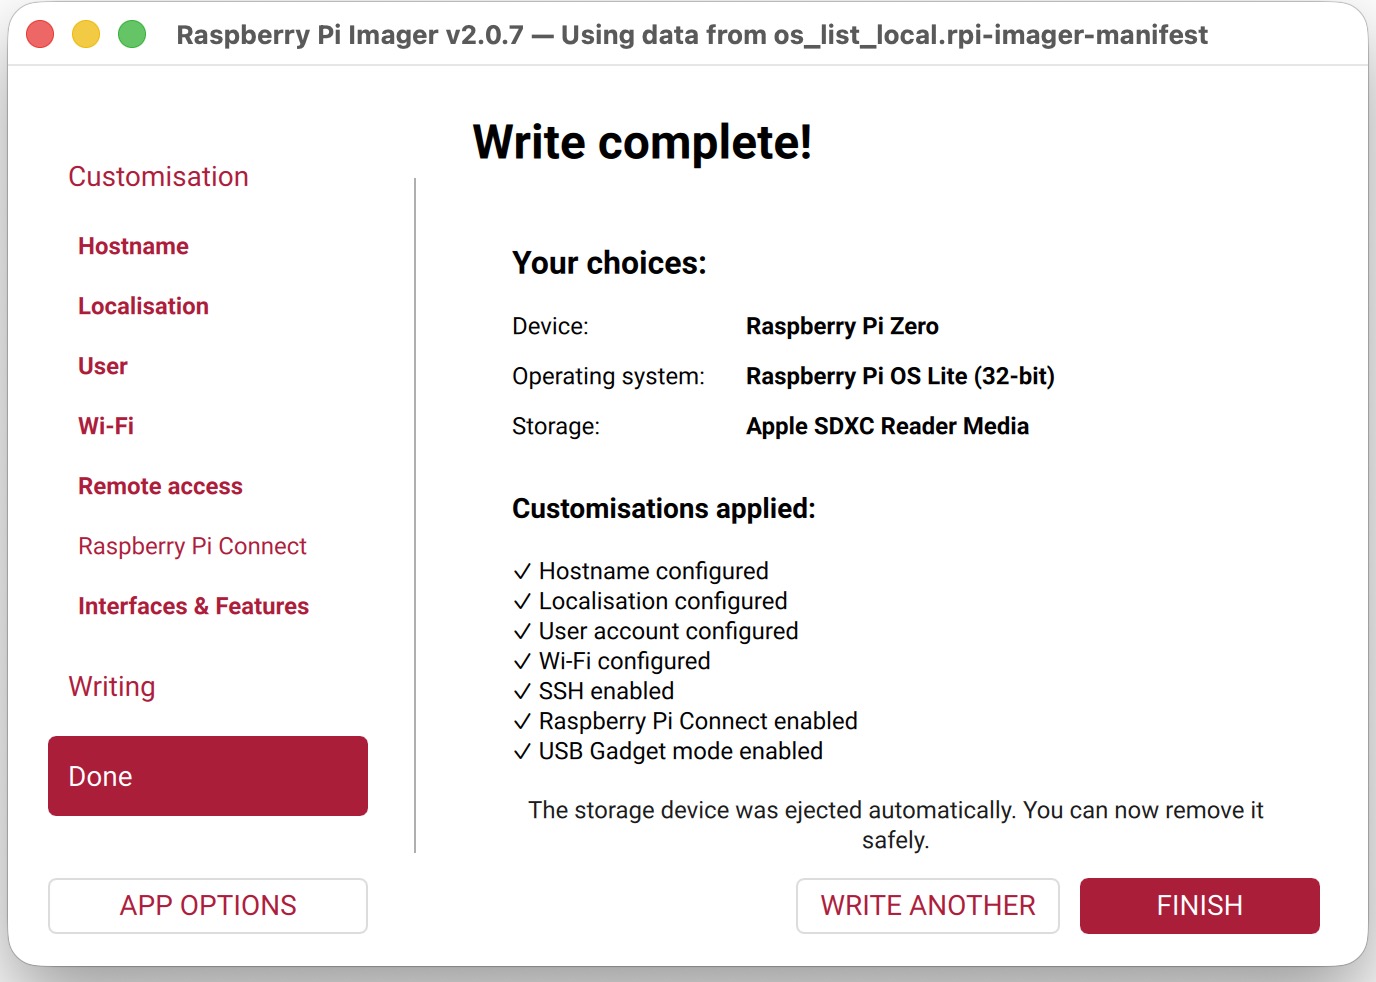
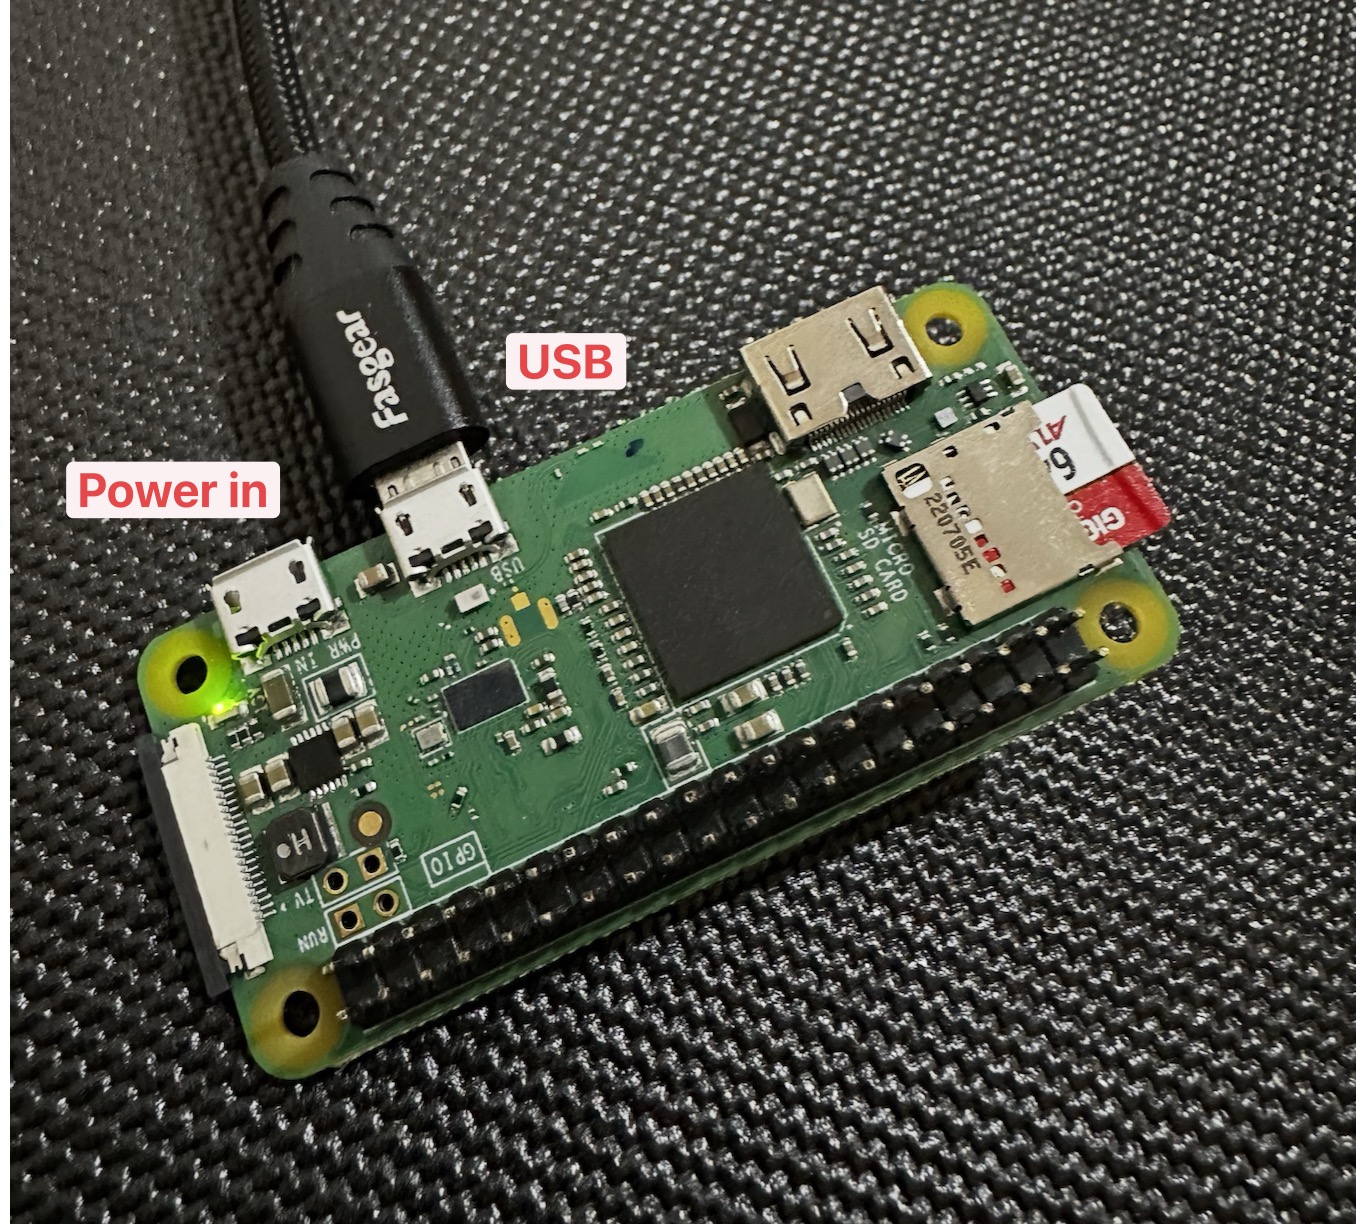
After RPi-Imager has finished, insert the microSD card into your device and connect it with a USB-to-micro-USB cable using the port labeled as USB; the other port must be used for supply mode only; see the picture.